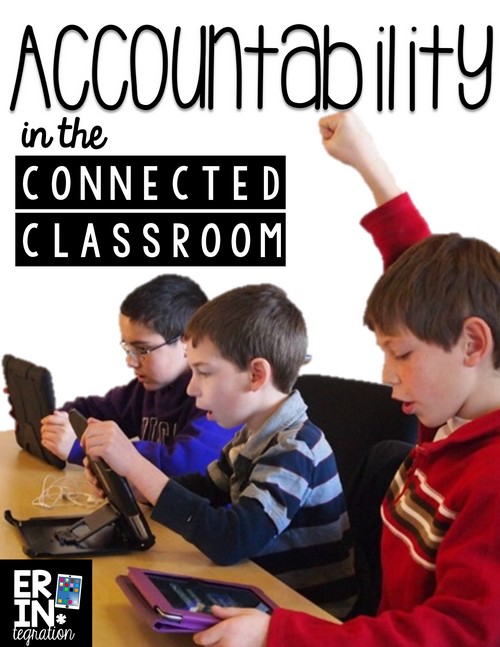
“How do I hold students accountable?” is a concern I often hear when the topic of technology use in the classroom is discussed. While there are some sites and apps that do allow teachers to monitor students’ choices, levels, and progress, most of those will cost money. Plus, many of the sites and apps I recommend do not have this feature at all. Rather than limit my students to only apps and sites I can track, I have a few ways of to hold students accountable when using technology in my classroom.
Why should we hold students accountable for technology time?
Keeping students accountable when playing a learning game on the iPad, PC, laptop, or Chromebook does not have to be a headache. I want my students to stay engaged and on task even when I am not directly monitoring their usage. While I have a plan for students who are not following directions, for students that are, I still want to hold them accountable for the learning they do.
Since my goal is for technology to be integrated, I need to know that students are holding up their end of the bargain, which is to be working on the apps and sites as directed. This does involve some trust, which is something that should be a component of your classroom management plan, but realistically you do need to build in some routines to keep students on task. Luckily there are some practical ways you can increase student accountability.
How to hold students accountable:
1. Utilize Screenshots
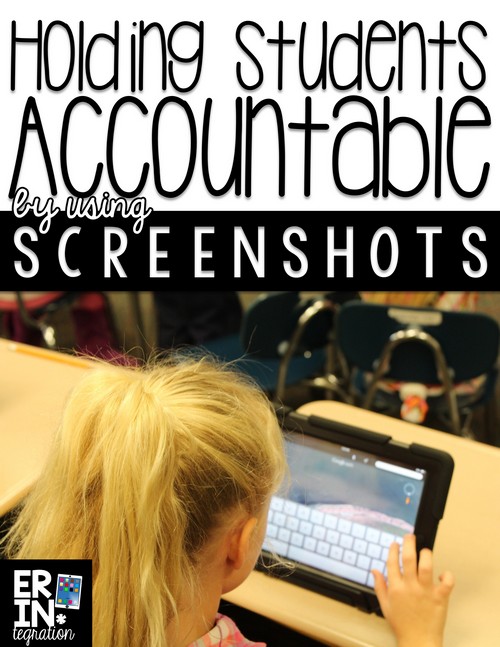
In my classroom, whenever students complete a level, earn a badge or award, get a new high school, etc. they can take a screenshot to share. I leave the parameters of this open since I want my students to be motivated and different accomplishments will mean different things to different people.
On the iPad, this means they touch the circle button and the top button at the same time. This can be tricky for younger students to master, but I recommend holding the iPad horizontally and using thumbs for both tasks. Students tend to be more successful when using their thumbs to screenshot rather than their pointer fingers. You will also find that some students are better than others – make those the resident screen shot-ers (shooters???).
On a PC, they can touch the Print Screen button (some keyboards will require students to push FN + PRTSC). Next they open the Paint program (All programs > accessories > paint) or another similar drawing program and right click to paste the image. Newer versions of Windows 8 and above, students can click the Windows key + PRTSC to automatically save the screen as an image in a folder called “screenshots” in their Pictures folder. They can also use the Snip tool to manually select the area to screenshot. After snipping they click save and save the picture file to My Documents. All PC screenshot options are explained {here} with a short video demo.
For students with Chromebooks, students would use the keyboard shortcut control + the screen key. The image will auto save to the File directory or can be saved to Drive. {Here} are more details about screenshots on the Chromebook.
The act of taking screenshots will make students feel accountable and will keep them motivated to stay focused – whether you follow up on the screenshots is up to you. I allow my students to upload any screenshots to their Kidblog accounts. This is even more motivating because other students can comment. Students love seeing comments from their classmates congratulating them on a level or item earned in a game.
2. Allow Student choice
Allowing some student choice is one way to build student accountability into technology use in the classroom. If students have a say in what they do, they will naturally be more motivated and engaged.
Since student choice is an important component of teaching technology fluency, it really is a win-win strategy in the connected classroom.
In my classroom, this means that I group apps and sites by topic or theme. For example, in math, we are practicing mastering our multiplication facts. During iPad time, students must select from a menu of multiplication apps. For current events in Social Studies, we use the fabulous site Dogonews. I allow students to choose the article they will read and comment on. Sometimes I may select a topic that ties into a unit we are studying, but I try to allow them some say so that I know they will be likely to read and stay on task.
In order to allow student choice, you will need to have a decent selection of favorite apps and sites. I shared some tips here for finding apps to enhance any lesson.
3. Harness the power of Social media
If you are having students complete a digital project, make sure you have some sort of share plan. Maybe you are tweeting, blogging, making QR codes that link to the content, or making a slideshow or video.
I mentioned above how we share our screenshots on Kidblog and other students can comment on them. This is incredibility motivating as is any time you open up student work to others. We use the Homeroom App to share photos with parents. Most of the time, students are the ones taking the pictures to share. Seesaw is another sharing app that allows parents to view student work.
Do not just limit sharing to only finished projects. Allow students to share accomplishments in games and drawings made during free time. We use a bunch of apps for spelling work – students love to screenshot these and share them on their blogs, and I like knowing that they are indeed spelling the words they are supposed to be practicing.
4. Use rubrics and have students complete them
Oftentimes, students’ ideas of what they are doing on an app and your ideas of what the project should look like are very different. Students may have a very different relationship with technology then what is expected at school. So their Pic Collage poster for theme may have 40 of random cats GIFs, 6 pictures of Minecraft, an artful Emojii border made of dollar signs and stacks of currency, along with the definition of the theme in unreadable cursive font and a tiny picture in the corner with a sticker of a smiley face covering most of it. Maybe that is ok or maybe is WAY off what you were expecting.
I use and provide rubrics in all of my iPad resources so that students know what is expected. While sometimes I may use the rubric to assess them, often I hand out the rubric along with the project directions. If applicable, it is important to tell students that the flair they add must connect to the project in some way.
Follow my board for more teaching with technology ideas:
These are some of the ways I hold students accountable for their work on the iPads and computers in my classroom. What are some ways you do the same?
Photo credit: Brad Flickinger and shared via Creative Commons


