
Bottle flipping, bottle tossing, the bottle flip challenge, water bottle toss challenge, or water bottle flip challenge – regardless of the name, your students are most likely familiar with it and driving teachers, parents, and community members a little crazy flipping their half filled water bottles and trying to land them upright in the classroom, cafeteria, at recess and outside of school.
Here is a video of my husband demonstrating (sidenote, I’m really terrible at it!)
Listen, I get it, it is a little annoying and with the move towards reusable water bottles, it is also wasteful. Which is I why I propose taking the trend and making it work in the classroom with a fun game, some STEM, and technology integration.
Combine Bottle Flipping & STEM
Ask any of your students what they THINK makes for the best bottle and water level. Every student will have a different idea and preference. So challenge them to test it to find their ideal water bottle!
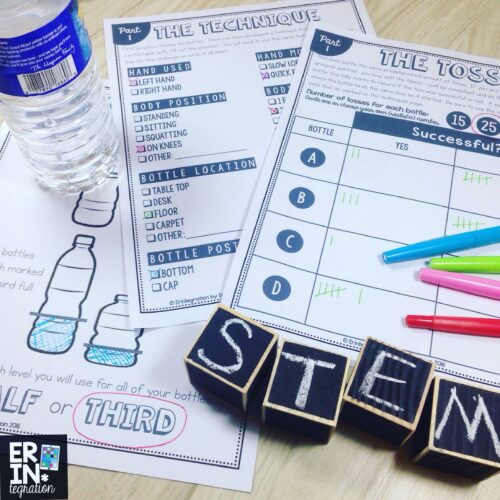
I created a self-paced STEM challenge (with hints of PBL) that has students first tossing a variety of water bottles and recording if the toss was successful.
Water Bottle Flipping in the Classroom – find the best water bottle
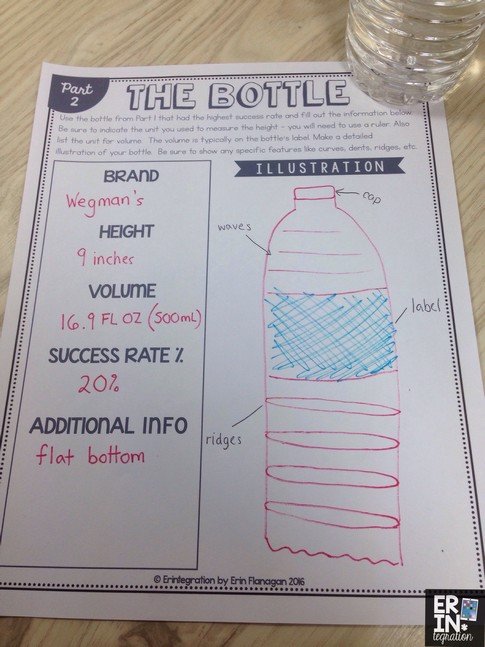
Students will start with a variety of bottles and will narrow it down to one water bottle style that has the best chance of landing a flip. Students will use the same technique and the same relative water level with each bottle. Students will also decide how many times they are tossing each bottle. This number will stay the same through the whole experiment. It is important to recognize the variables when starting the task. Recording sheets help students stay on task and work independently.
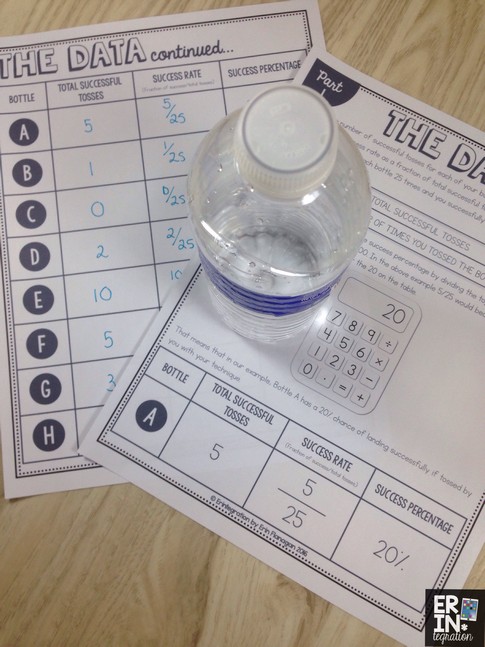
Next students will crunch the numbers to figure out the success rate. Since I teach 3rd, I included a step-by-step visual for how to do this, but older students can be tasked to determine this on their own.
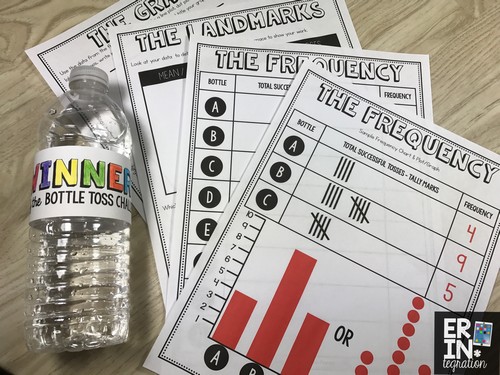
Students will create a frequency table and graph. I made a sample so my third graders could see how the data can be made visual with either a bar graph or a line plot. Students will then find the average times they can expect to land any bottle flipped a given amount of times.
Water Bottle Flipping in the Classroom – Find the best water level.
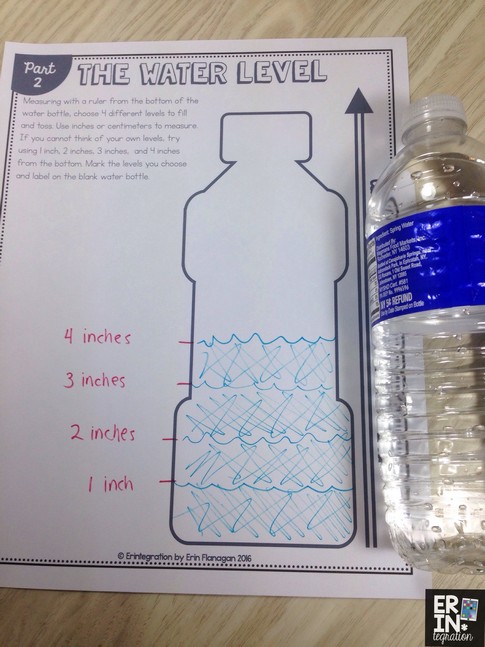
For Part 2 of the STEM Bottle Toss Challenge, students will take the bottle that had the best success rate and will use just that bottle.
The variable in this case will be the water level. Students will choose and test four different levels.
Students will crunch their new data, record it, and will use what they learned to design an ideal bottle. Either students can use their own data to design theirs or they can do this after each student presents results to the class.
Technology integration and bottle tossing
Of course I had to add a technology integration component! Students will then use their “best bottle” filled to the “best water level” and create a slow motion video. This will help them better see the motion of the bottle to understand the science behind it.
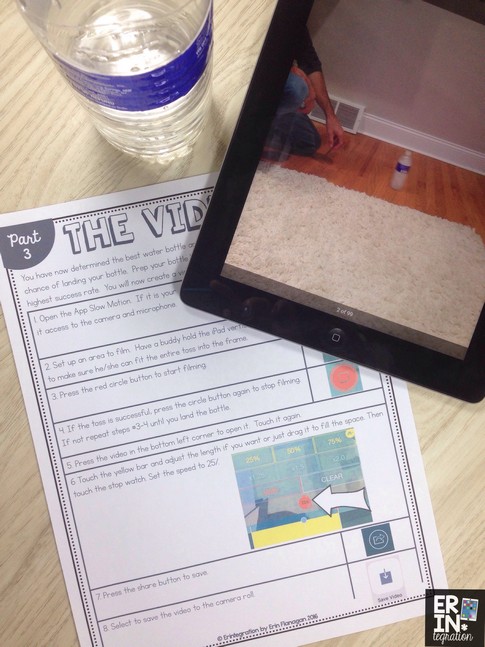
iPad users can use several free apps to accomplish this. Older students with iPhones can use the slow motion feature built into models 5S, 6 and 6 plus, and 7s.
I had students self assess their work as I think it is important to teach students how to evaluate themselves before turning in their projects. I made paper labels for them to color and attach to their “winning” bottle too. I printed my labels on regular paper and just used double stick tape, but you could get really fancy and use whole sheet label paper too. 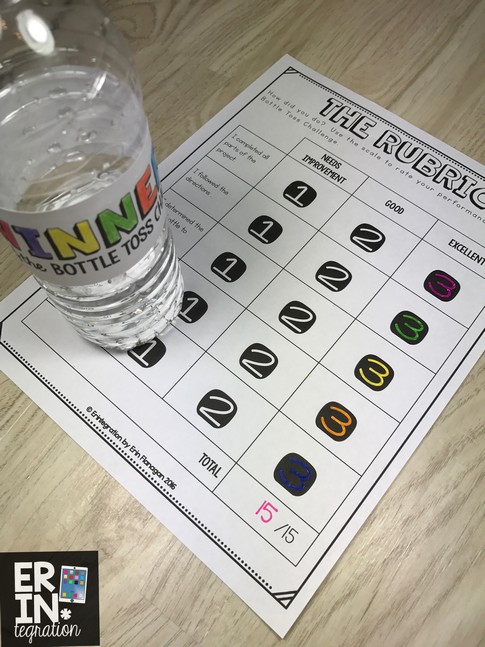
Finally, students can compare their video to the visual explanation posters I included in the resource to see how it all works.
Get the 27 page resource here – it includes the images pictured above plus much more!
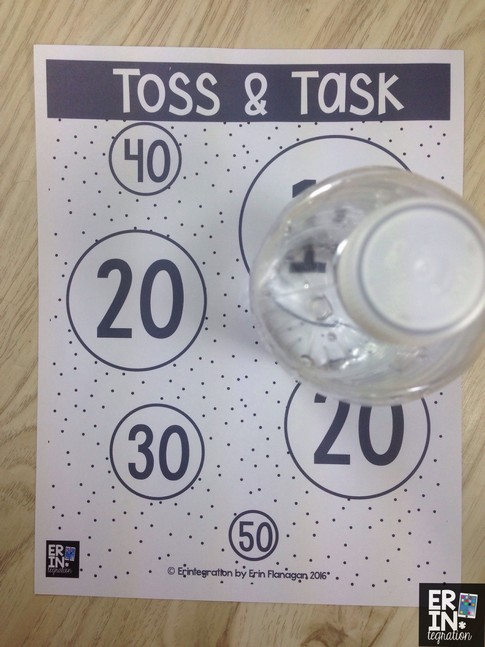
Free Toss and Task Game
Once you have introduced the activity and students have determined their best bottle and water level, you can now have them play Toss & Task!
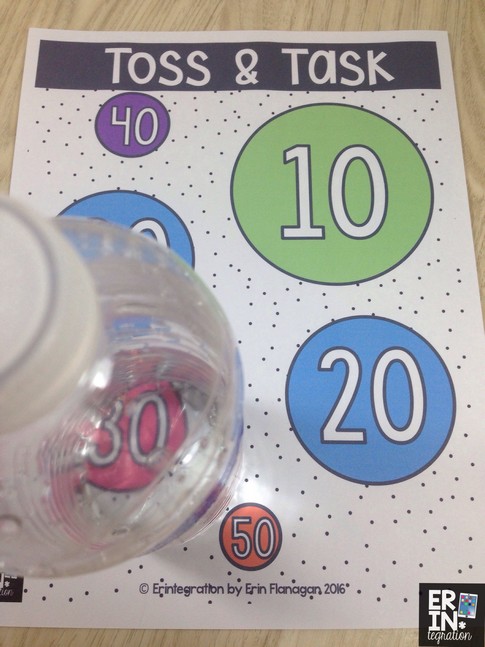
This free download includes directions, recording sheets, and two versions of the game board!
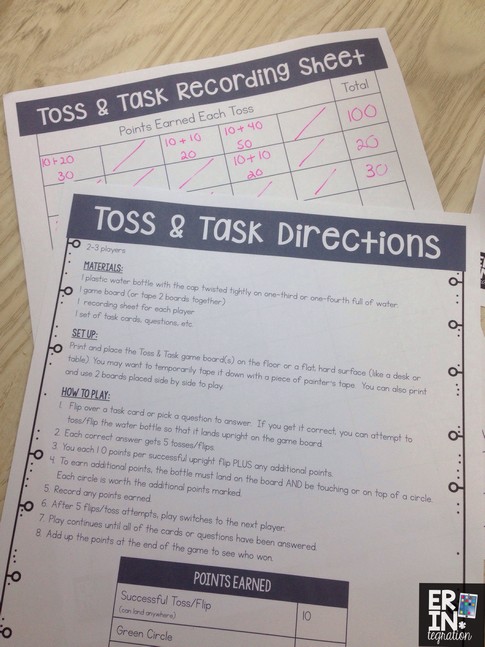
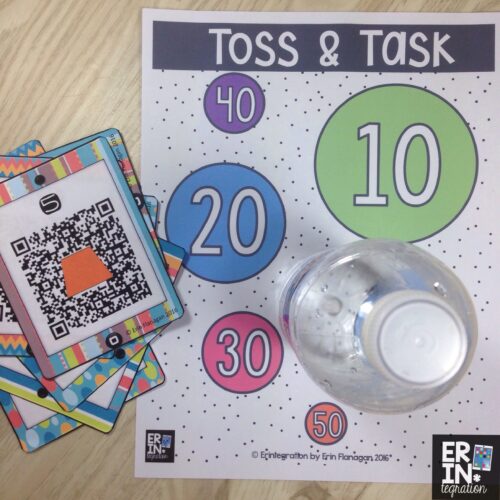
To play Toss & Task, you can use any task cards you already have or questions. If a student answers a question correctly, he or she can flip their bottle 5 times onto the game board.
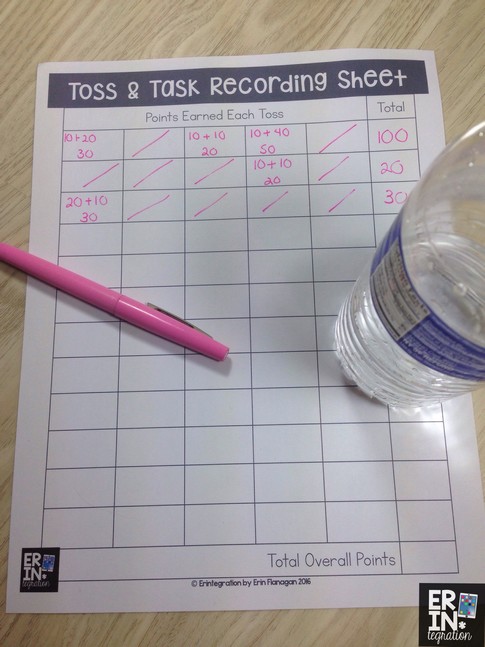
Students earn points for a successful toss and for landing their bottle on or touching one of the target circles. I created recording sheets for students to write down their points earned. Depending on your students’ abilities you can have them use mental math, skip counting or calculators to total their points.
I also included a black-line version – just be sure to color each of the circles according to the point levels on the direction sheet.
You can adjust the game by attaching two or more game boards together.
Get the Toss & Task directions, game boards and recording sheets for Free:
Where to get the water bottles to toss
I suggest having students collect water bottles in the cafeteria for a week or so prior to the challenge. Collected water bottles can now be “classroom bottles” for this challenge and future use. That might cut down on the waste – at least in your classroom. Plus once students have an “ideal bottle” they will be less likely to waste a bunch of new bottles in favor of reusing it.
Are you on board with integrating the bottle tossing or bottle flipping trend into your classroom? Have you tried it yet? Share any experience below!