
Reading like a writer on the iPad – 3 activities to strengthen the writer’s eye and teach author’s craft
Integrating technology during writing tends to be the most accessible. Most people have some level of comfort with planning lessons for students to type stories for publishing. The next logical step from there may be to think about publishing on a global scale through blogs or to write authentically via social media.
Sorry friends, that is not what this post is about because you can read about all of those wonderful ideas all over the web. I figured I would share some of the lesser known ways to integrate technology during writers workshop instead.
How to teach students to read with a writer’s eye
Throughout reading and writing workshop, I try to model to my students how to read with a writer’s eye. That means I want them to notice what an author is doing through word choice, craft techniques and structure so that they might apply it to make their own writing better.
Reading this way is a “close reading” technique, and lessons typically follow a 3 part structure –
1. Teacher reads aloud and points out what the writer is doing and why.
2. Students read to find more examples of that writing technique in their guided reading or choice-books.
3. Students try out that technique in their own writing.
Oftentimes, we may complete parts #1-2 during our reading workshop or during guided reading. My grade level team and I share an iPad cart and have decided to split the cart up during our reading time so we always have access to at least 10 iPads. Therefore many of my iPad reading activities are done during a center or with partners.
Teachers with 1 iPad could set this up as a week-long center. If you teach 1:1, you may want to do the activity whole group or assign it as an independent reading activity.
The goal of all of the activities is to train students to read “like a writer” and notice the author’s craft by setting a specific purpose for reading that has them actively engaging with books already read.
Here are 3 technology integration activities for reading with a writer’s eye on the iPad.
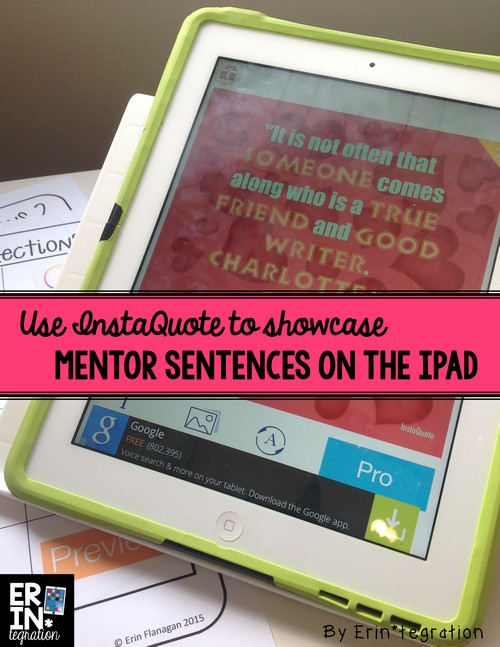
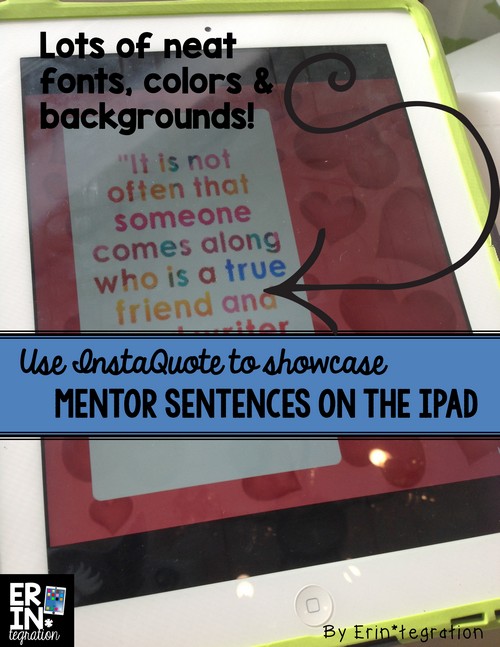
1. Have students use InstaQuote to highlight mentor sentences for various writing techniques.
This is a versatile, year-long activity that we turn to whenever we learn a new craft or as a way to review author’s craft in general.
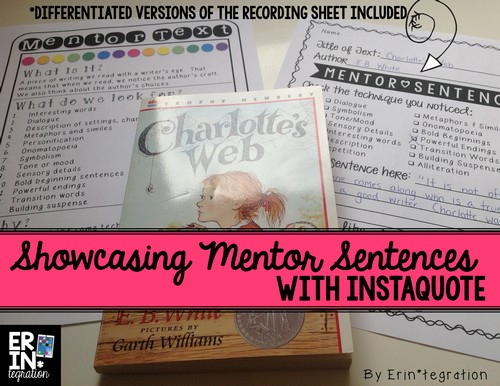
First I either assign a specific technique or I may leave it open-ended during read-to-self and allow students to share any strong writing that jumped out at them while reading. Students use the graphic organizer in my Mentor Text iPad Activity to write the sentence and explain why they chose it.
I have also used this same activity to focus on beginning and ending sentences. We review the included anchor chart before hunting through books to find our sentences.
Next, students use the included step-by-step direction sheet to create a quote poster to show off the fabulous writing they found. Students can use the highlighting feature to pick out key words to highlight.
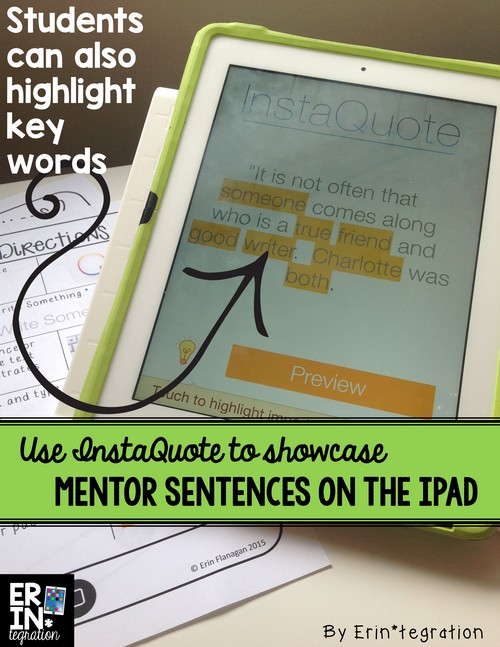
InstaQuote has many different designs of fonts and backgrounds, which means your students won’t get tired of using the app and the activity can be used throughout the year. Students can very easily change the appearance too. This whole project is very simple but the finished work really showcases great writing.
The directions in the Mentor Text iPad Activity also explain how to save and crop their work for sharing. We upload ours to class blogs all year. If your class uses Instagram or Twitter, these would make for a great share on there too.
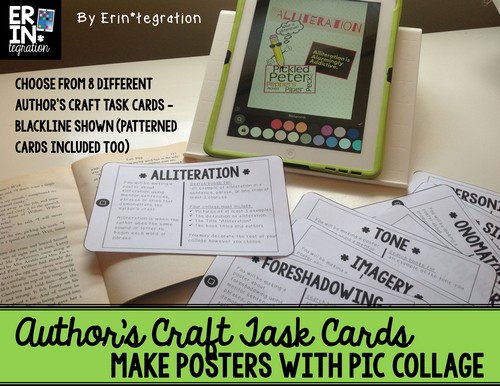
2. Students can create a Pic Collage poster to show various examples of Author’s Craft spotted in their reading.
I created these author’s craft task cards to use as a reading and writing center for the app Pic Collage.
Students can pick (or I will set out) a specific writing technique I want them to highlight on Pic Collage. The task card directs them to find a specific number of examples or quotes as well as to decorate their poster on Pic Collage in a way that best showcases their work. Each task card also reviews the literacy devices. I’m on a printer-ink lockdown, so I have been using just the blackline versions that are included, however the packet does come with colored patterned iPads too.
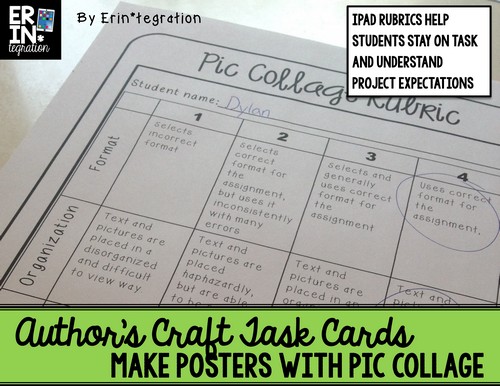
Whenever I use task cards with the iPad, I also leave out a rubric at the center. I think sometimes with technology, we focus so much on the how-tos that we forgot to set expectations for the outcome of the finished project! I try to include rubrics in all of my TpT products for that reason. I often have my students self-score their work before uploading it to blogs or Google Drive to hold them accountable.
I cannot stress enough how setting a purpose for reading with something motivating like Pic Collage on the iPad will have even your more reluctant readers and writers rereading and searching through books for examples.
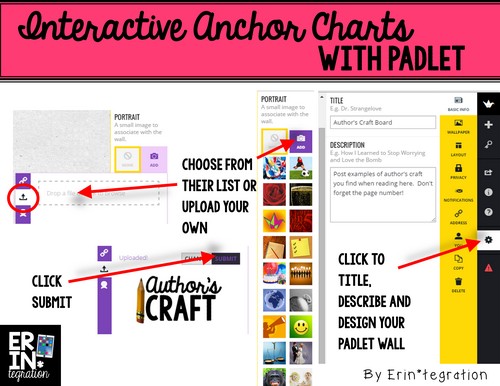
3. Create an interactive anchor chart with the free website Padlet for students to share writing techniques they noticed when reading.
This last idea takes a little teacher set up but can be used all year. First, you will want some sort of author’s craft anchor chart, literary devices poster set, or “writer’s eye” bulletin board set up. Here is anchor chart I use:
{Click to download it for free in .pdf form for printing}
You will notice when you print it out, I left a space for you to glue a QR code to Padlet. Padlet is a free website (it works on all devices) that allows students to post text and images to a shared board. You can sign up for a free account or just make Padlets without one – although I recommend having an account so all of your work is saved.
After signing up, click the “plus” to start a new Padlet. I like for my Padlets to have graphics on them to remind students what to post.
Follow the directions below to customize your Padlet:
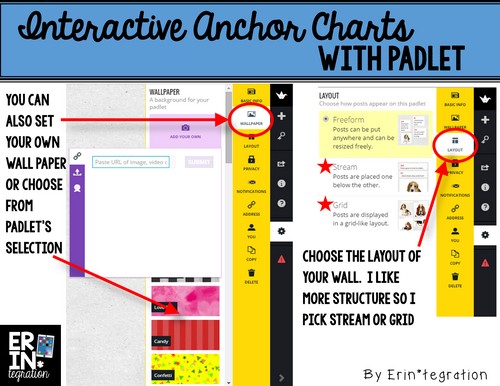
I also select a Wallpaper background for my Padlet so that student posts will pop more:
I like to set my Padlets to have a specific layout instead of free form. I tend to use Stream but Grid would also work well. I find that Freeform does not respond as well when using iPads, although it could just be personal preference.
After you have set up your Padlet the last step is to share it and grab the QR code.
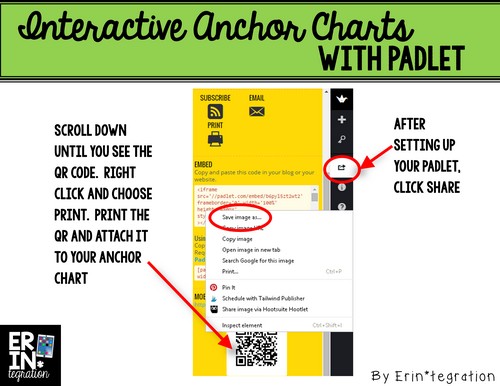
After printing the QR code, cut it and paste it on the anchor chart. Now whenever students notice a literary device, they can scan the QR code and post their example to the class Padlet.
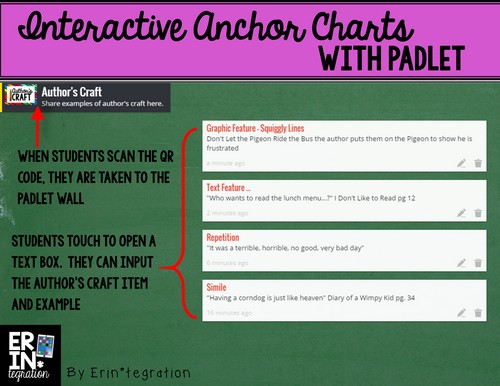
Students just need to double tap to open a text box. They enter the title of the technique they found and either a quote or description. They can also upload a picture of the book cover if you want them too.
I tend to keep the assignment somewhat open for my 3rd graders as I find it more motivating if they can decide exactly how they want to share their mentor sentences. I don’t require them to write the author, book title, or page number, but some do as you can see above.
I leave this chart up all year. We love watching it grow!
These are just some of the ways we have been using iPads during writing for more than just publishing finished stories. I would love to hear how you are using your iPads during writing workshop. Share in the comments!