
Use this hack to hide and reveal hidden text when creating digital activities for students to complete on Google Slides. Learn how and why hidden text on Google Slides can add another layer of engagement to your Google Slides digital interactive notebooks, activities and more!
What is Hidden Text?
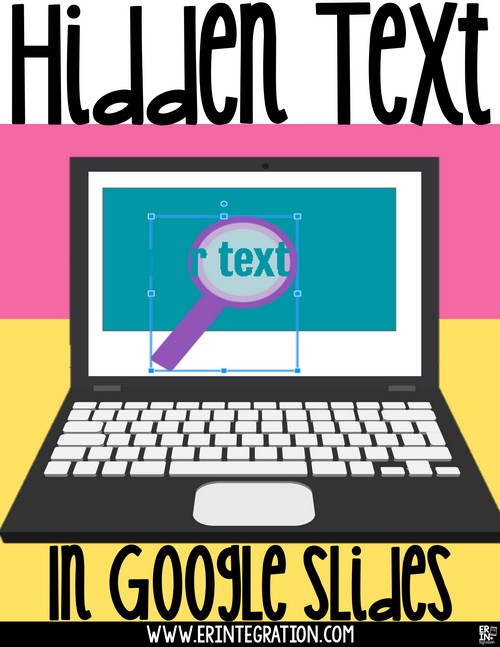
Hidden text refers simply to text that is the same color as a background object or shape on the Google Slide. Since it is the exact same color, students will not be able to read the text without each moving the text or revealing it using this hack!
Why hide and reveal hidden text on Google Slides?
Hide related text right on the slide and have students reveal the text after completing the slide activity or as another engaging layer to your slide activity. Text boxes to hide may be:
- Answer to the particular slide activity
- Helpful hint
- Fun fact
- Sight words
- Vocabulary words
- Clues or number codes to a Digital Breakout
- Prize Won (like a digital scratch off ticket!)
- Spelling Words to unscramble, retype, find, etc.
This is just a start, but basically you will want to hide bits of text that relate to the slide students are working on that they are then tasked with “revealing.”
How to hide and reveal hidden text on Google Slides
I created a quick video that shows the process, but basically you will need to insert a shape and a text box. Fill the shape with a color of your choice. Then change the text color to the exact same color as the shape. Drag the text on top of the shape to “hide” it.
You can also hide text on a background image. To match the color of the background image, you will need a color drop tool or extension like the free Eye Dropper extension. This will allow you to determine the hex code of the color so you can use the same custom color of the text! Then just drag the text box over to that area of the image to “hide” it.
To reveal the text, students will need a semi-transparent piece of clipart or a shape. I created magnifying glasses with a semi transparent center that work great for these activities.
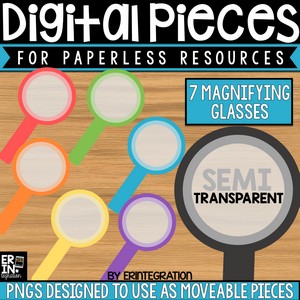
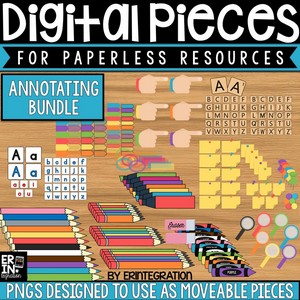
My terms of use for my digital piece is very digital friendly so you can use them in all of your digital activities for personal and commercial use! I also have other sets of transparent & semi-transparent pieces in the Digital Pieces for Annotation Bundle available here.
Students then drag the semi-transparent clipart over the colored shape. The key is to have the items in the right order on the slide. The shape is in the back, then the clipart, then the text on top! You can play with the order of your items by right clicking and choosing “order.”
Watch to see how it all works below: