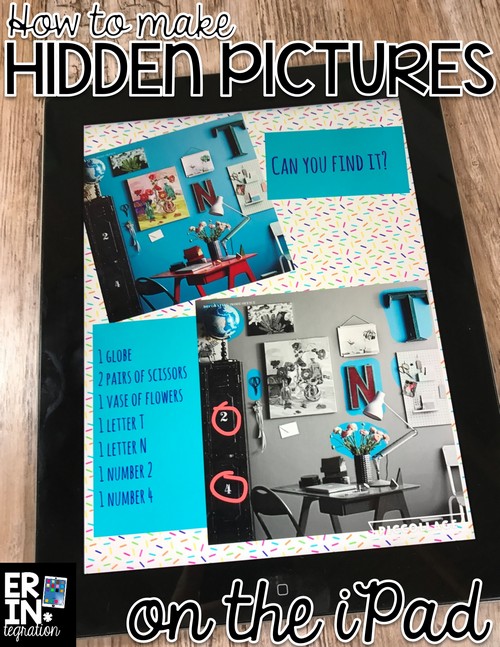
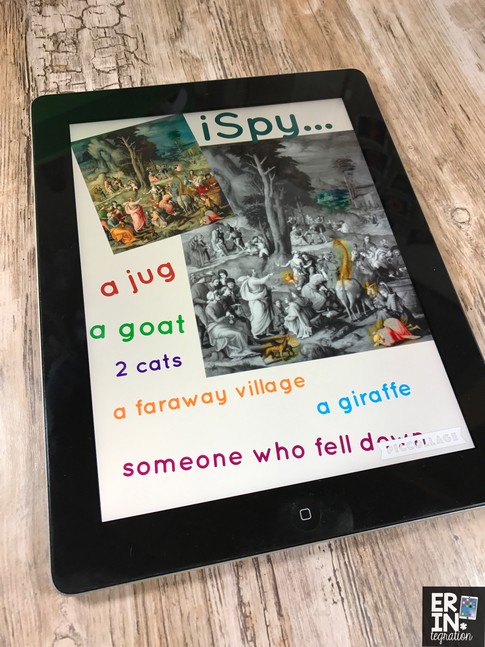
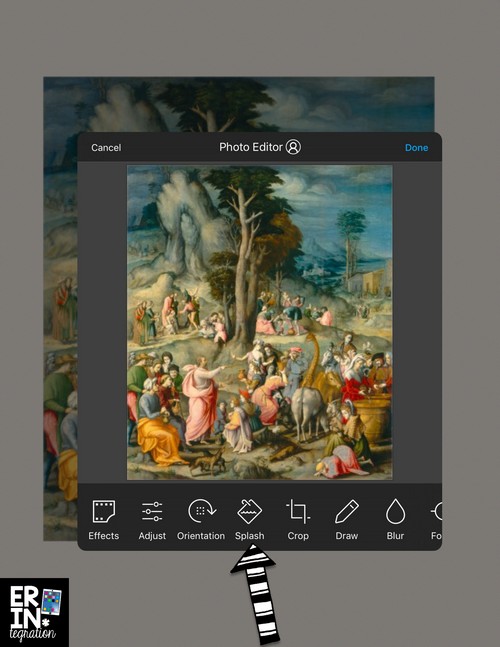
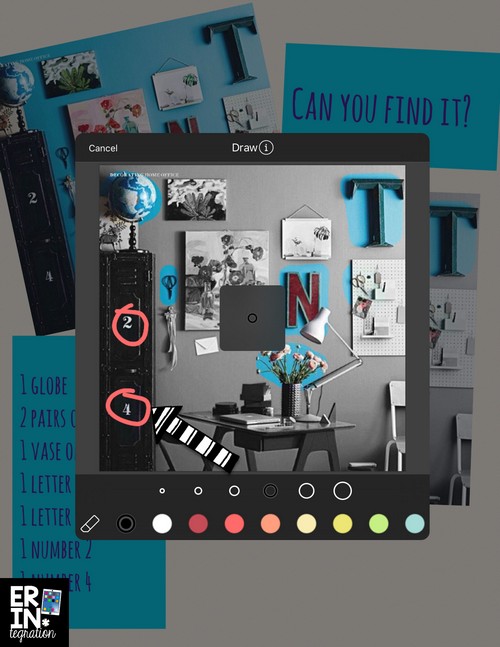
Use the free iPad app Pic Collage to create hidden pictures using the Splash tool. Exposing students to art – whether master piece art or illustrations in a picture book – is known to have positive effects on learning and engagement, but time constraints can make it difficult to carve out time to devote to its study. Integrating art and technology with math, reading, and writing is one way to maximize learning time.
To introduce this activity, we talked a lot about how illustrators and artists often include details we might miss at first glance. We discussed how important it is to look at art and illustrations closely to gather information. In third grade, this lesson meets the Common Core Language Arts standard for Integration of Knowledge and Ideas (but it also works well as a close reading lesson too!):
Explain how specific aspects of a text’s illustrations contribute to what is conveyed by the words in a story (e.g., create mood, emphasize aspects of a character or setting)
Take pictures of art or illustrations in books to use in hidden pictures
For this project students first selected a piece of art or an illustration. I recommend having books displayed that feature busy scenes or still life images with many objects. I read the books Can You Find It? which feature masterpiece art pieces and iSpy challenges – there are several in the series.
I also set out a selection of art collection books to help students find a piece. If you are studying illustrations, you could use Richard Scarry’s Busy World series of books, Around the World with Mouk, Animalia (or any Graeme Base book would work).
Get digital illustrations and artwork to use for hidden pictures on the iPad
If you want to go completely paperless AND tie this lesson into a social studies lesson on Then and Now – have students screenshot from The Children’s Object Book, a digital copy of a children’s book from the 1880s with images of every day life.
Students can also grab masterpiece art digitally via The National Gallery of Art. Be warned though as this site contains nudes and religious imagery, which may or may not be appropriate.
Finally, students can use filtered search in Safari to search specific terms like “masterpiece still life” or use the art featured in the books I linked above to search for other pieces by the same artists.
Upload and edit image in Pic Collage
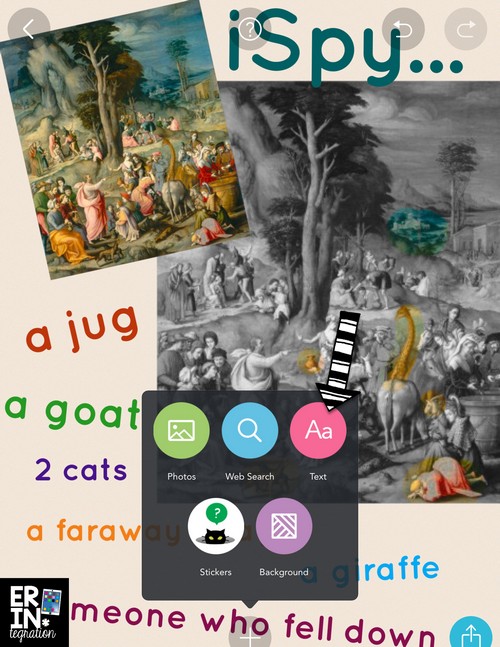
Next students will upload their image into Pic Collage twice – one to display and one to edit. First students touch the plus then find their image in the camera roll. They will do this twice so they have 2 copies of the image on the Pic Collage to manipulate.
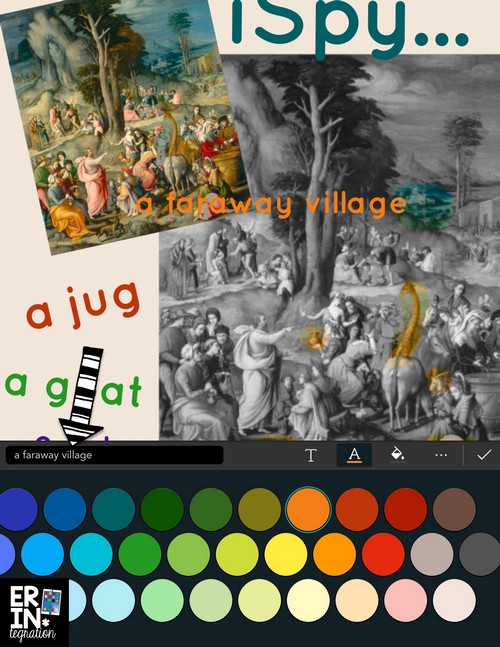
Students will study their images. With each new look, they use the Text tool to write something new they noticed.
I challenged students to find 5 new things they missed at first glance.
Students will then double touch one of the images and select Effects. 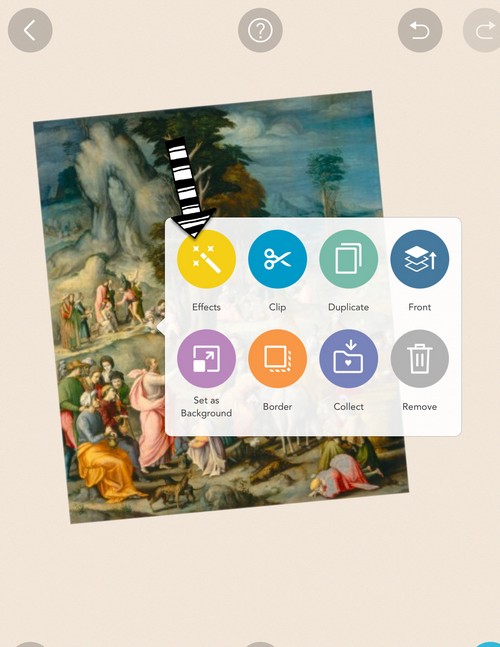
Students touch Apply to save the changes. If students want to circle items, they double touch the image again, then select Effect and then Draw. Students can choose a color pen and then draw directly on the image. Just as before, they touch Apply when finished.
This project allowed students to first hand experience that taking a second and third look does impact the details we see. We had so much fun making our hidden pictures on Pic Collage, I had students do the project a second time with a new image – only this time, they handed over the plain image and text list to a partner to challenge him/her to find the items!

