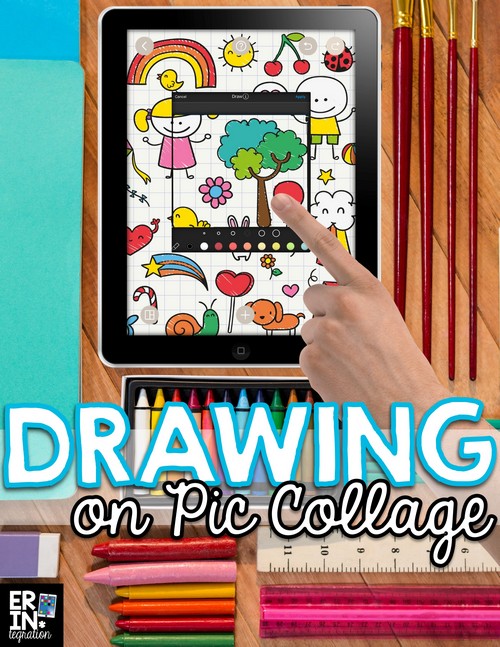
Personalize digital projects in the classroom with a simple hack for drawing on Pic Collage. Learn how to create your own pictures, doodles, portraits, sketchnotes and more to use on the app and some ideas for integrating Pic Collage drawings into the elementary curriculum.
This post is a detailed expansion of one of the ideas I shared for using the Pic Collage draw tool on their blog. As an official Pic Collage Teacher Ambassador, I shared a bunch of ways to use the tool as well as another cool hack for drawing across the canvas as well on Pic Collage’s fantastic Teacher Corner. The Draw tool is a fantastic, but little-used tool on Pic Collage accessed by double tapping any image on the canvas then selecting Effects then scrolling and choosing Draw.
In this post, I want to go into more detail about the mini whiteboard hack and how it can be adjusted and used in the classroom. Essentially with this super simple hack, you can add drawing functionality to Pic Collage similar to Doodle Buddy or other simple drawing apps.
First make sure you have either the app Pic Collage or Pic Collage Kids for the iPad. Pic Collage is also available on a variety of other devices – Kindle Fire, Android and computers/laptops with Windows 10.
Drawing on Pic Collage
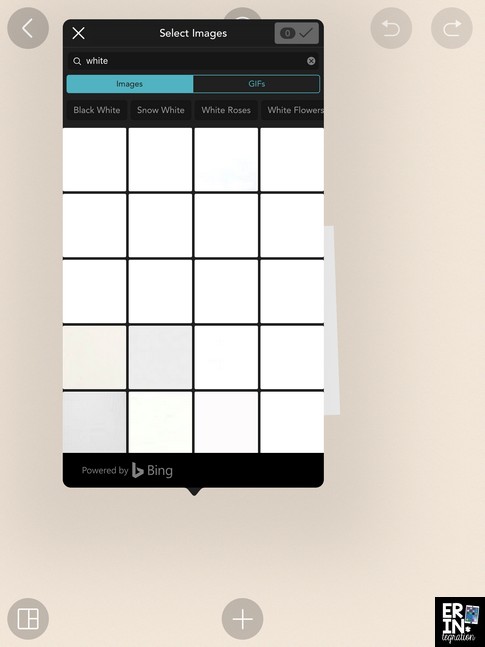
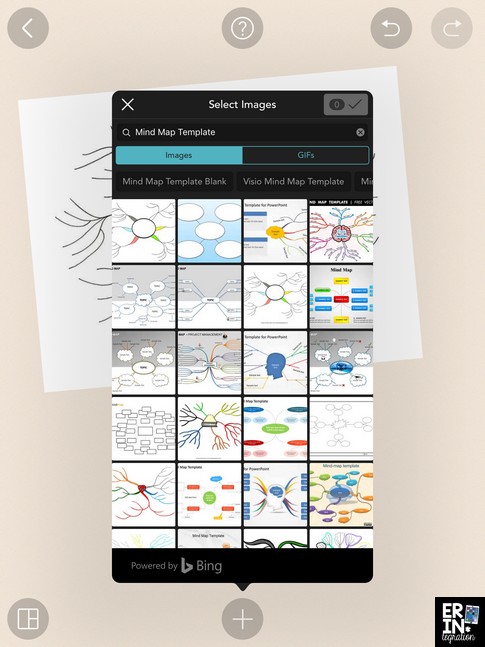
For this hack, students will need to access the Web Search. First select a freestyle canvas then touch the plus sign and choose Web Search.
Next, type just the word “White” in the search bar.
This pulls up a bunch of seemingly blank spaces. Touch one of the blanks – I suggest using one of the top three hits and do not scroll – and insert it onto the canvas. Some of the options are rectangular shaped as well as square, but you can’t tell until it is in on the canvas.
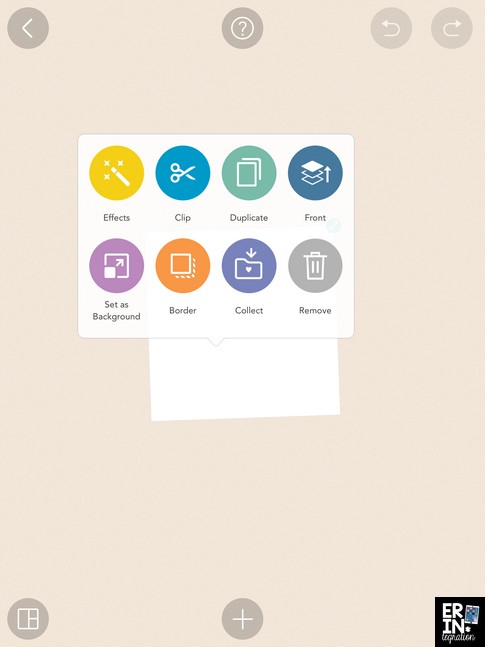
You should now have a white rectangle or square shape. Double touch your white shape and choose Effects.
Scroll across and pick Draw.
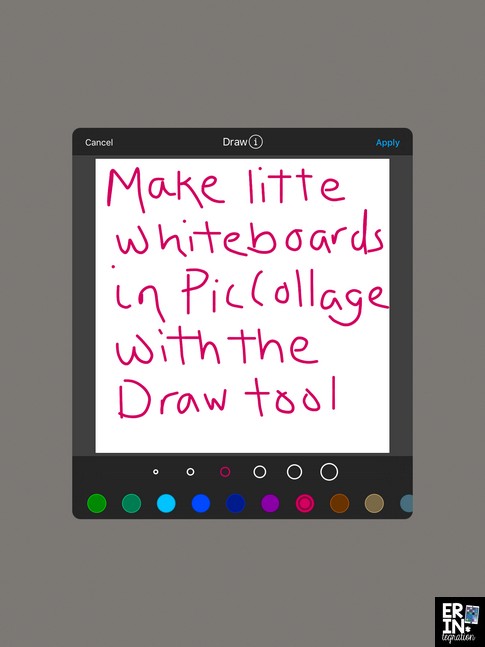
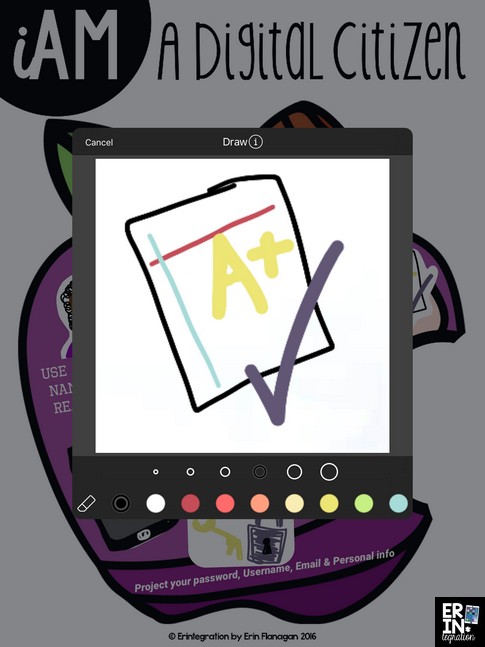
Now you can use your finger to draw onto the white canvas – just like a whiteboard! You can change the size of your pen by touching the various sized circles. You can also change the color – be sure to scroll to see more options. Marks can be erased with the eraser icon.
A few tips….first you can zoom in to draw more detailed work. To do this, pinch and pull the image. Second, writing is not super smooth. I would not write more than a few words or characters. Slowing down helps as does using the larger sized pen when writing.
Touch apply then done to insert your “whiteboard” image onto the canvas.
Use Pic Collage to Create a Sketchnote
You can repeat this process to add more items to create a sketchnote, mind-map or web. 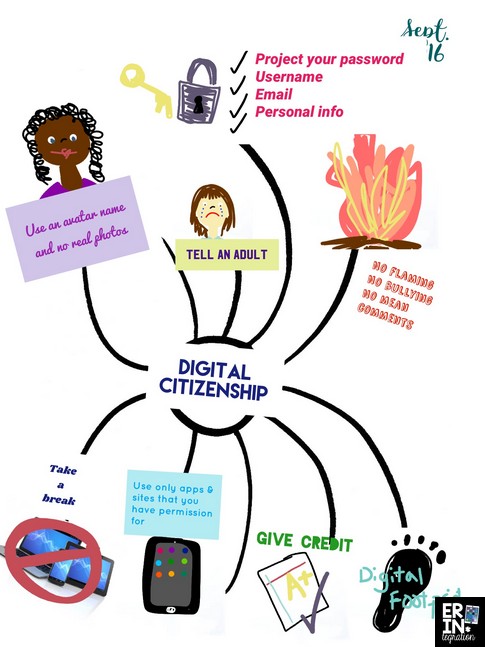
I highly recommend any of the Sketchnote sets by Study All Knight – she has thought of everything to help you get started. Her Sketchnotes come in .pdf and Google Slides which cannot be used on Pic Collage directly, but in this post Study All Knight discusses how you can import Google Slides into images, which you could then use on Pic Collage.
Create & Use Your Own Drawings in Pic Collage
You can also use the drawing as part of a collage or digital poster project. Since your mini whiteboard drawing is an image, you can also crop it with the clipping tool or even use the other cool tools in the Effects menu. Add your clipped drawings onto a template to make a one-of-a-kind Pic Collage poster.
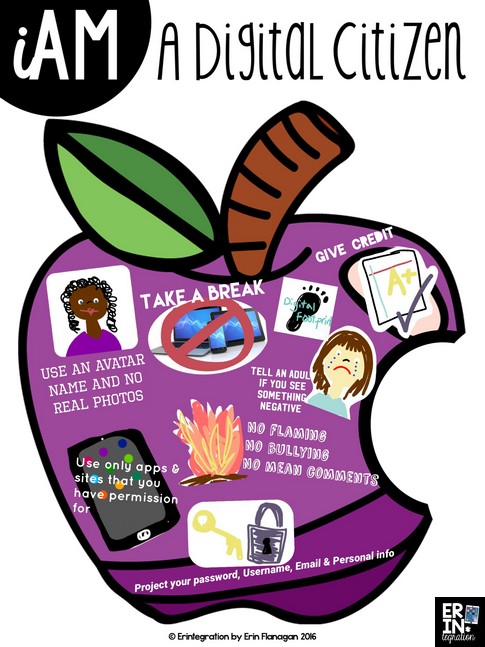
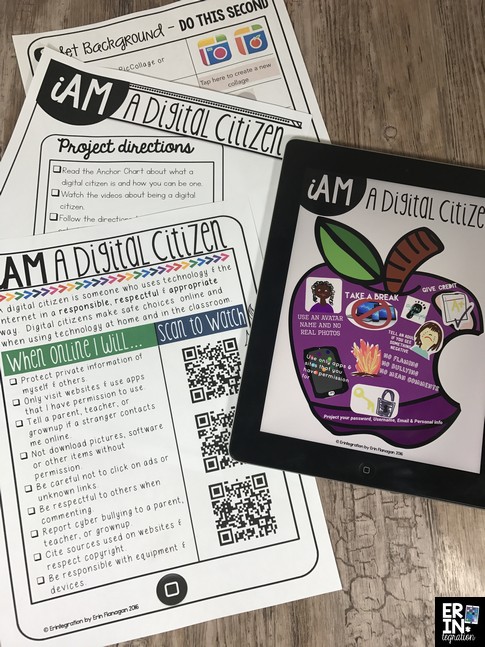
This example uses my iAm a Digital Citizenship resource. Students first scanned and watched several short videos about Digital Citizenship. These are right on the printable anchor chart that is included. Then they used the information on the anchor chart to make a poster using the apple template image provided.
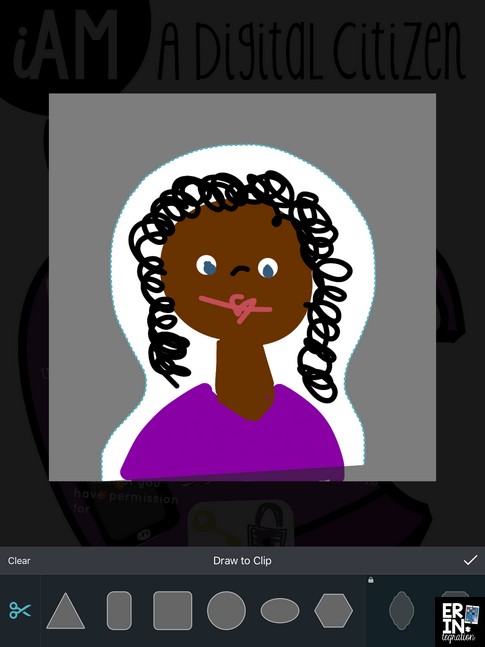
While some opted to use images found via Web Search, we also used the Draw tool hack to create our own images for the poster.
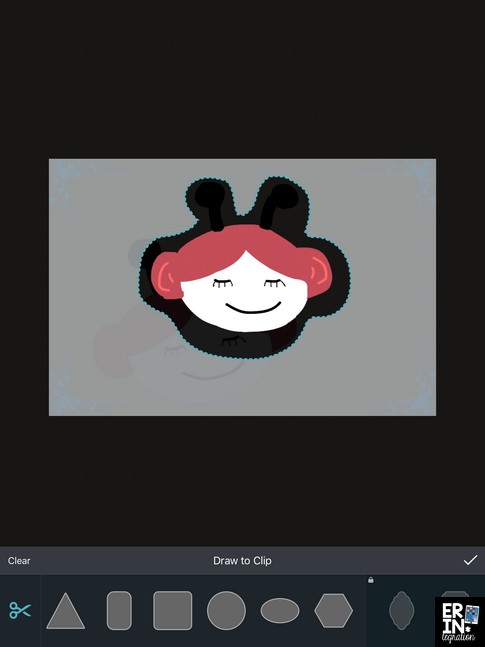
To clip the drawings, double touch and choose Clip. Students can use the provided shapes or trace with their finger to “freestyle” clip their drawing.
Using the Whiteboard Hack Without Searching the Web
Some of you do not have access to the Web Image search tool on Pic Collage and thus can’t search “white” to get as a drawing background. No worries, this is another quick hack to use as a workaround.
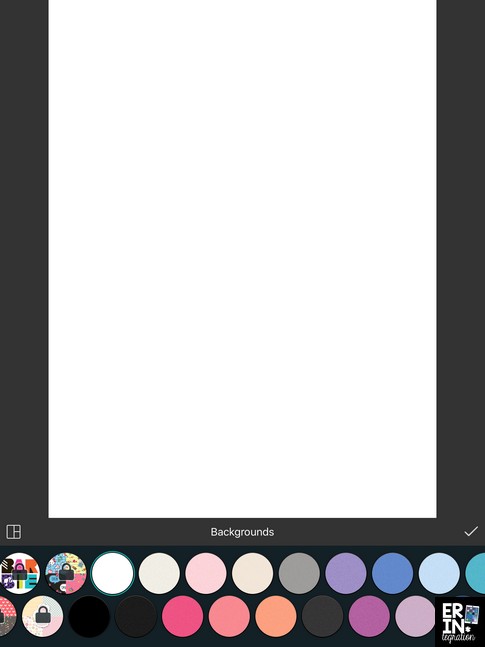
First open a new Freestyle Pic Collage. Then touch plus and Background. Choose the white color (or another solid color if you want a different colored background).
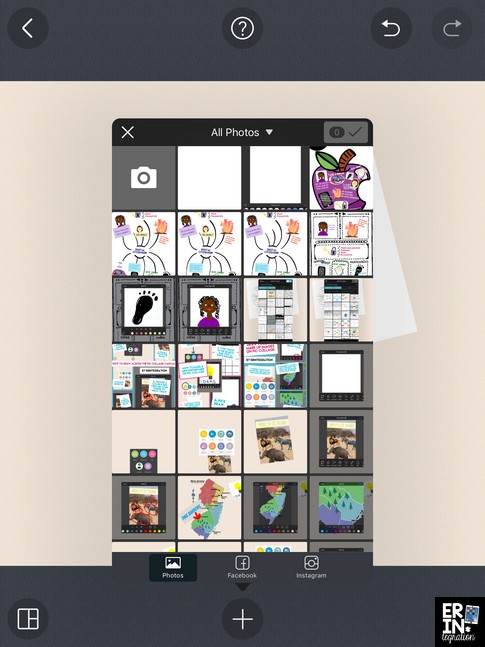
Touch the save button and save your solid colored Pic Collage. Now you have a white image to use! To make a “whiteboard” touch plus then Photos and pick your image.
Once you have saved that blank white image, keep it in the camera roll to use again and again!
Using Frames and Borders to Draw on Pic Collage
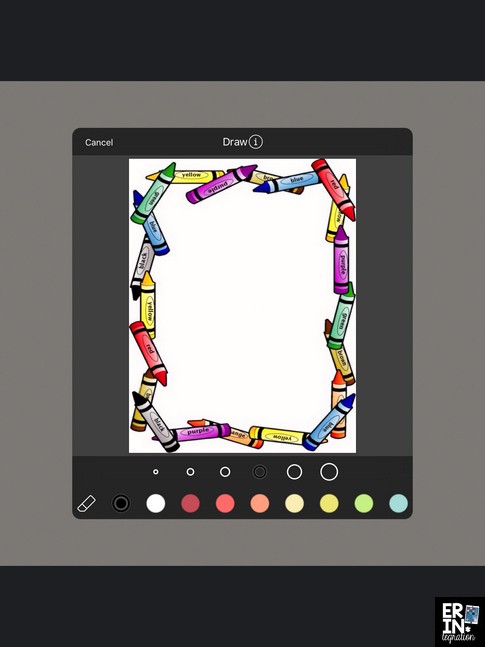
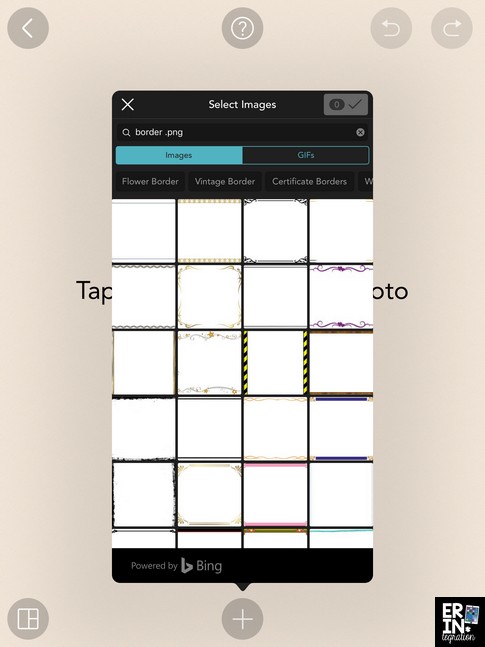
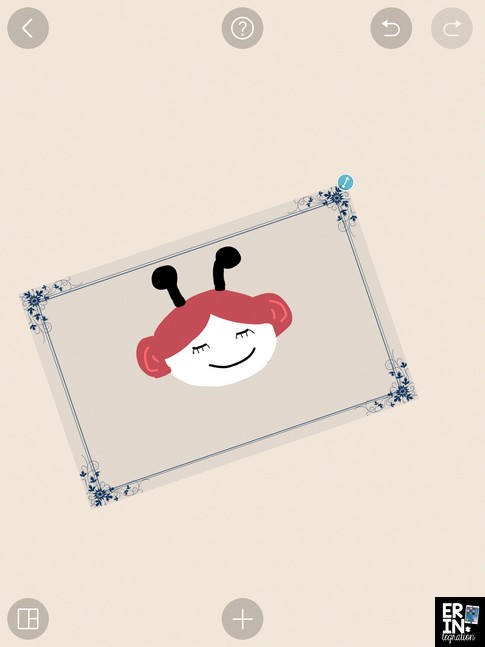
Instead of searching “white” to get a drawing background in the Web Search bar, try either Frames or Borders. Frames pulls up a bunch of photo frames and borders pulls a variety of colorful options that all make a great surface for drawings in Pic Collage.
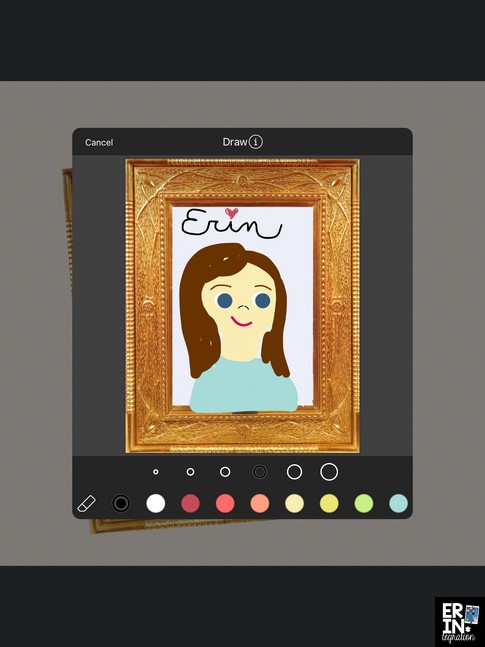
After choosing and inserting the frame onto the canvas, double touch the frame then choose Effects then Draw.
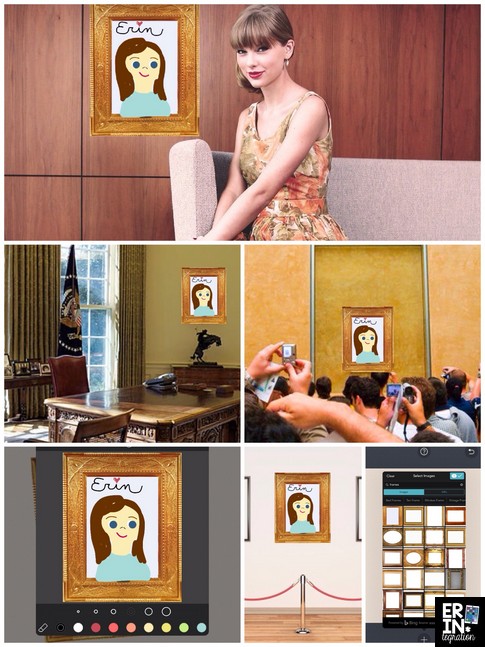
Using the pinch-t0-zoom capabilities, you can even draw a self-portrait and sign your name in the frame!
For this example, I used the search icon in Backgrounds to find various backgrounds of famous places or people to add my self-portrait!
Drawing Images with a Transparent Background in Pic Collage
In the above section, I learned that many of the borders are .png files while means they are transparent. You can make sure the borders are transparent by searching “Borders .png” in the bar.
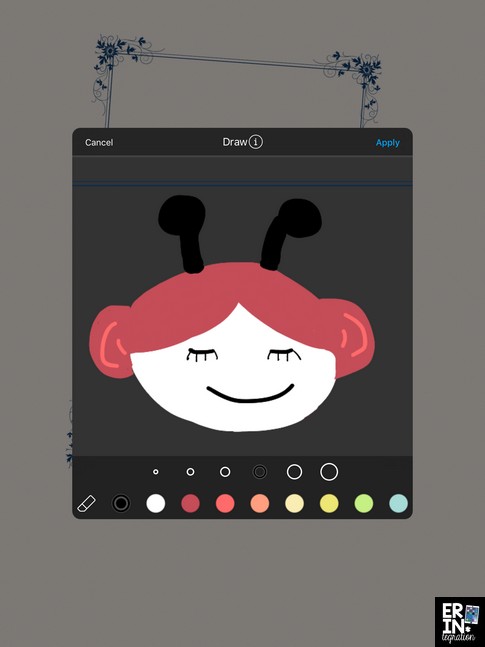
The cool thing about the transparent borders is you can still draw inside them and your drawing will then have a transparent background.
After you touch Apply and then touch Done the drawing with the border is inserted onto the canvas.
After finishing your drawing, if you double touch it and select Clip, you can trace around your image and cut away the border. This leaves you with just your drawing and a transparent background! You have essentially created your own sticker.
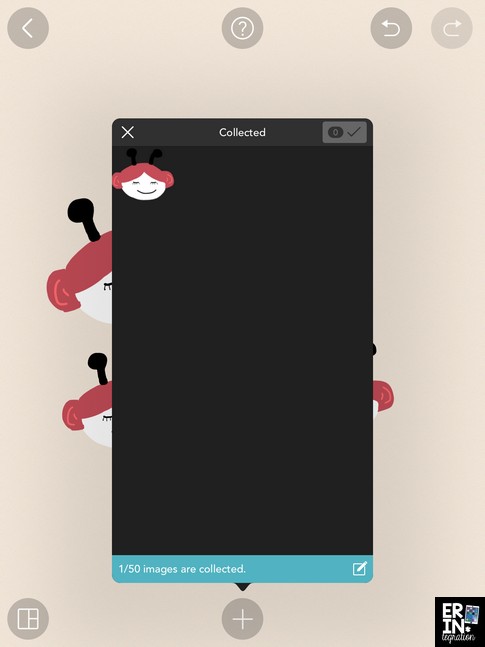
Since it is a stand alone image, you can double touch and select duplicate to make more than one of the image too. Or select Collect to add to your image collection to use again and again.
This would be a fun way for students to design their own Emojis to use on Pic Collage projects.
Students can design counters to use to solve or illustrate various math problems too. I used a solid background but you can just as easily use Web Search to find tens frames, part-part-whole and other math diagram templates to set as the background.



As you can tell I’m very excited about this Pic Collage hack and how it adds a huge element to an already robust app! I will be sharing posts with more projects using the Draw tool on Pic Collage too. Be sure to check out the other Pic Collage posts on Erintegration with more ideas for using this free app in your classroom.

