
Are you using digital desk pets with your students? If so, your students might want some new scenes to place their pets! Use the free Google Add-On Slip N Slide to insert new slides to your existing digital desk pet assignment on Google Classroom. Plus download 10 new desk pet scenes for free!
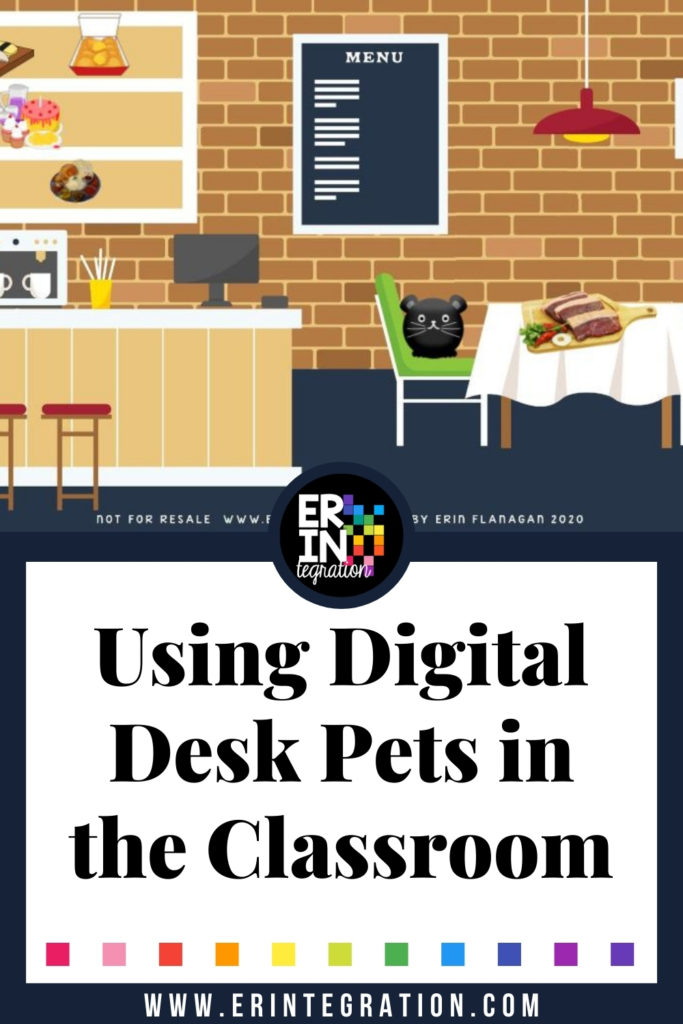
First, if you aren’t using digital desk pets, be sure to open this post all about desk pets and digital desk pets in a new tab to learn all about this super engaging classroom motivation activity and get started with my free templates.
When to Use New Digital Desk Pet Scenes
Depending on how you are organizing your digital desk pets, students might need more space. I have students insert their own items using Google Search for example so after a some time in our current templates, students felt their desk pets needed to get out of the house and explore!
You can also consider just adding one or a few new scenes at a time as a fun activity for the whole class to look forward to.
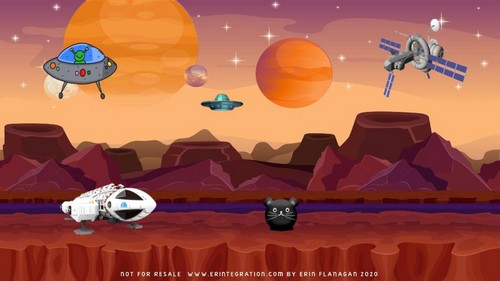
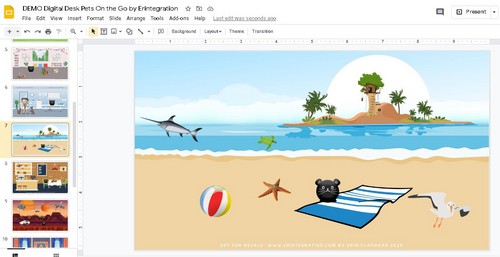
So I created 10 additional scenes you can add to your existing Digital Desk Pet Google Slideshow or Seesaw activities.
Desk pets can now visit the park, beach, vet, throne room, a faraway planet, restaurant, school, or dive underwater, star in a play or even go camping!
Get the Digital Desk Pet on the Go Scenes for Free Here
Subscribers, head to the free resource library and enter the password here.
Not a member, no problem! Sign up below to subscribe – it’s FREE!
How to Add New Desk Pet Scenes
In Seesaw, you would want to create a new assignment and insert the templates there or edit and add the scenes to your existing assignment.
However, in Google Classroom, this gets a little more tricky.
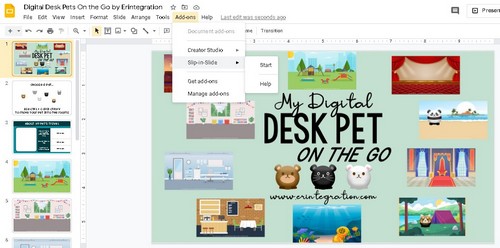
In order to add slides to a slideshow you have already assigned in Google Classroom without reassigning everything, you need the free Google Add-On called Slip-in-Slide available here.
How to Use the Slip-in-Slide Google Slides Add-On
I first learned about Slip-in-Slide from the Techie Teacher who demos how exactly it works here.
Basically, after installing the Add-On, you want to open the slideshow you will add into the assignment. In this case, you will open your copy of the Digital Desk Pets On the Go Template saved in your drive.
- Once open, click Add-Ons > Slip-In-Slide then Start.
- Then click Add-Ons > Slip-In-Slide > Select Destination
- Find the Classroom folder in Google Drive with your assignment then click OK.
- Click Add-Ons > Slip-In-Slide > Destination and click the folder name your just picked.
- Check the boxes to insert all the slides or a select # and click if you want them insert at the beginning or end of the existing assignment.
You will receive a message that your slides have been added – it does take a minute so don’t panic. Also, when in doubt, go to Add-Ons > Slip-In-Slide if you forget what to do next. Sometimes I thought it wasn’t working, but if I did that , the next option would be available to me.
Have you used digital desk pets in your classroom yet? If you don’t use them for motivation, it always works as a fun way to practice inserting images, copy + paste, drag & drop and even cropping, image order, and more!
Be sure to tag me on social media @erintegration to show me your students enjoying and customizing their digital desk pet!