
Whether you are viewing the eclipse live or watching a live stream, have students create a stop motion video of the eclipse using Emojis to demonstrate what they saw and label the parts. I’m sharing versions of this project for iPads using Pic Collage and Apple Clips or iMovie as well as a version that uses Google Slides so students can create their videos using any device. Be sure to grab the FREE Google Slides template too!
First check out the teacher toolkit put together by PBS for teaching students the science behind the eclipse. If students were lucky enough to view the eclipse, be sure to discuss what they saw and when. If students were not able to view the Eclipse or you were not in the path, you can view videos of past eclipses or the stream of the 2017 path on the NASA website.
Next determine how students will create their stop motion video. If you have iPads, I suggest using Pic Collage and then the Apple Clips or iMovie apps. If not, I suggest Google Slides. Both projects are described below.
Stop Motion Video on the iPad with Pic Collage
I was so excited when Anita shared how her students create Stop Motion videos using Pic Collage on the Teacher’s Corner last spring, I knew I had to try it! In addition to storytelling, there are a ton of science applications too. This project is a twist on hers since we used Emojis and the Clips App because we do not have Slideshow Studio.
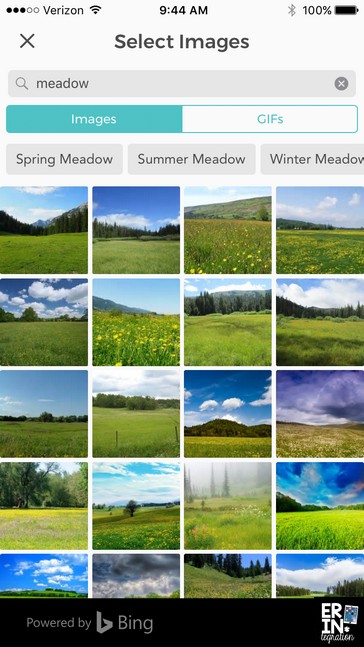
Choose a Freestyle Pic Collage canvas in the square shape. Students should add a background – we used the search feature to find one that had both sky and grass. The search term “meadow” had a lot of choices, but you can also have students take a picture outside or search a term that makes more sense for your location.
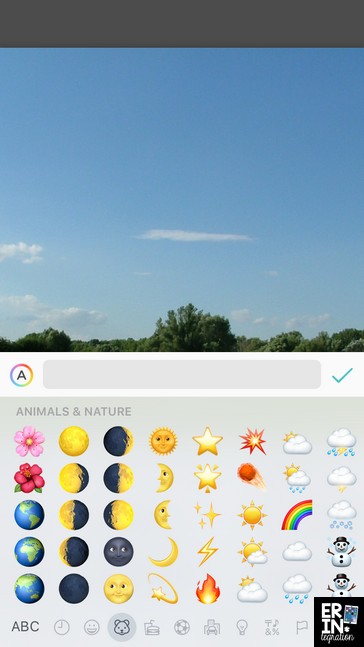
Next double touch the canvas and choose Text, but instead of typing, touch the Emoji keyboard and insert a Sun Emoji. Repeat to insert the Moon Emoji.
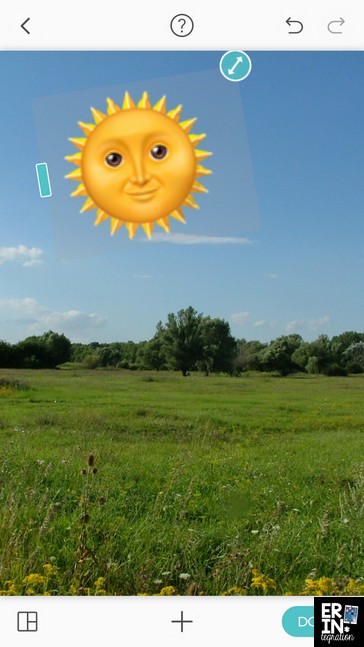
You can resize the Emojis by touching and dragging the arrow.
Next you will move the moon bit by bit, saving a picture to the camera roll with each move. Depending on the age of students you can have them insert text to explain various parts. The smaller the movements and the more pictures students have, the smoother their video (and the longer it may take to create).
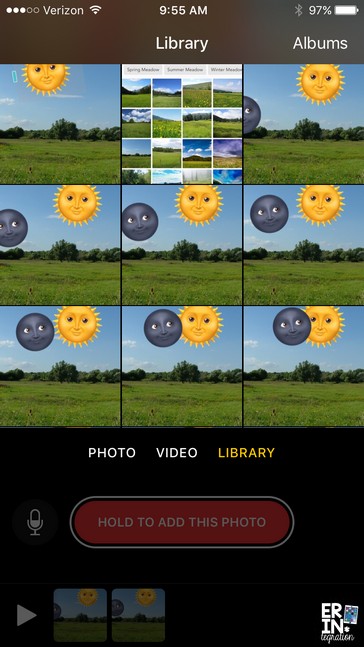
Once students have 25-50 pictures showing the eclipse, they will use either Apple Clips, iMovie or a combo of both to create their video. For clips, insert one picture at a time and hold the red button for 1 second for each picture. Save the video to the camera roll when done.
To create the video in iMovie, insert all of the images in a new movie then save it.
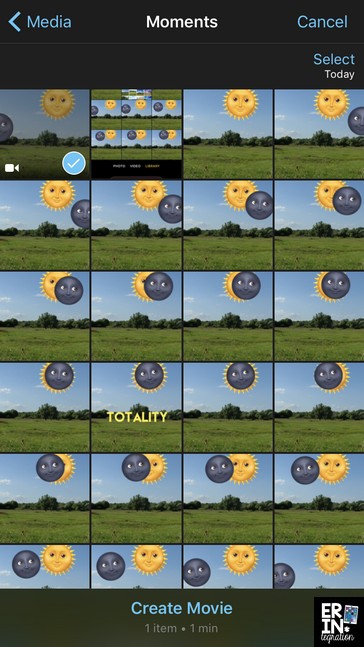
Next, to speed up the movie, insert the Clips video into iMovie (or insert the video you just made in iMovie into iMovie AGAIN). After selecting the video clip, touch Create Movie.
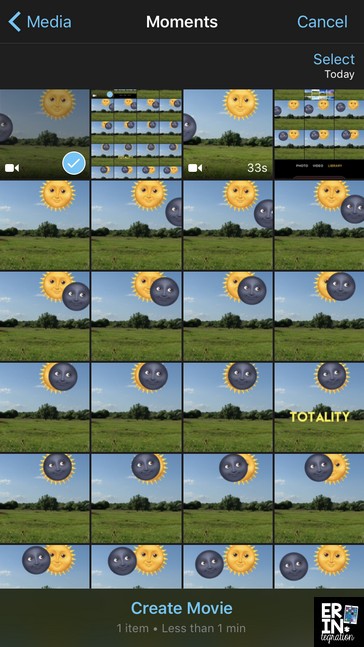
Touch the movie so the whole thing is selected (it will have a yellow border), choose the timer and slide it all the way to the rabbit. Save the whole movie again. Repeat this process – reinserting into iMovie, speeding it up – until your stop motion movie is smoother and fast.
I did this process twice to create the video below:
Create a Stop Motion Video with Google Slides
You can also create stop motion videos using Google Slides. Think of each page as a page in a flipbook and as students present, they click to advance the slides or “flip” the book, creating the movement.
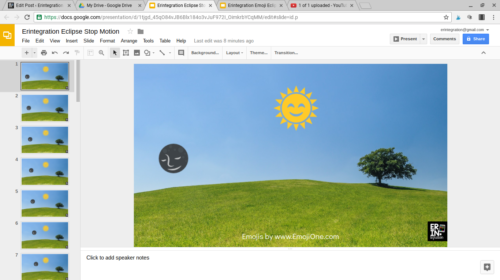
To set up the stop motion video, I created a FREE Eclipse Stop Motion Template that you can download and use in your classroom with students:
Click to make a copy of the Google Template
To create the template, I used Emojis from EmojiOne for the sun and the moon and I used Google Search for the background.
I strongly suggest students work slide to slide. Meaning, after they set the moon in one slide, they duplicate that slide and move the moon again slightly. Students should duplicate as they go. That way, they know exactly where the moon was before.
Students can also add text and other information. If they want a particular slide to remain still for “longer,” I suggest duplicating it as-is several times.
Students can share their slides in presentation mode. If they have blogs, they can also click File>Publish to publish the slide, and choose 1-sec as the timing to either share the animated slide or select to embed it into a blog post as I have done below.
How do you plan to extend student learning about this eclipse or upcoming solar, lunar, or partial eclipses? How else can we use this awesome workflow to create stop motion videos on Pic Collage and Google Slides? Find me on social media or tag me in your finished projects!