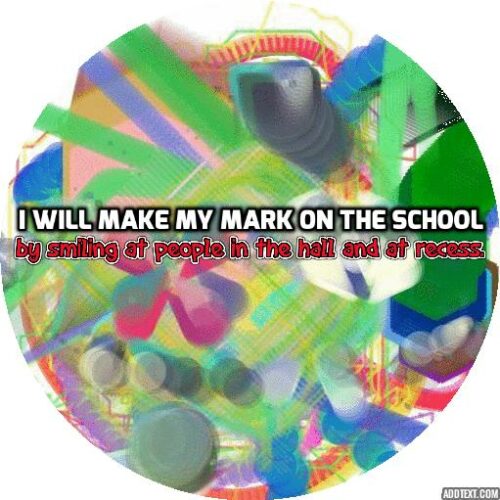
Using Chromebooks or PC and feeling left out of the iPad apps and cool activities I shared to go paperless this International Dot Day? No worries, I found a few websites that will have students on PC, laptops, and Chromebooks just as engaged while working on their mouse skills too.
First learn more about International Dot Day and why you should plan an activity on or around September 15th this year to celebrate. Next be sure you have a copy of the book, The Dot, by Peter H. Reynolds to read or project. You can get it with my Amazon Affiliate link here.
International Dot Day Websites & Chromebook Activities Overview
First students will use a website to create their dot. Then they may need to crop it into a circle. Next they can either record themselves saying how they will make their mark or they can use a text website to add text right to the circle.
Websites to Create the Dot
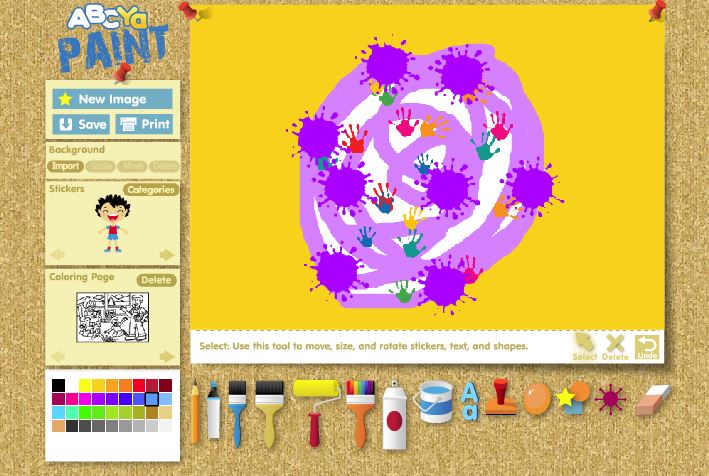
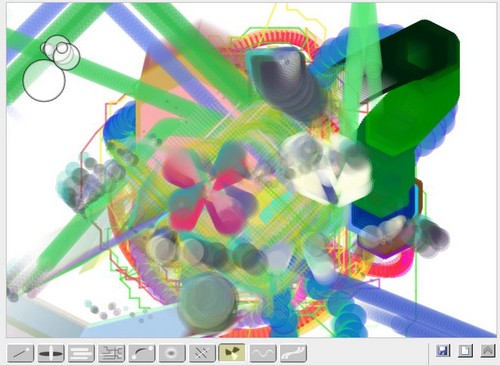
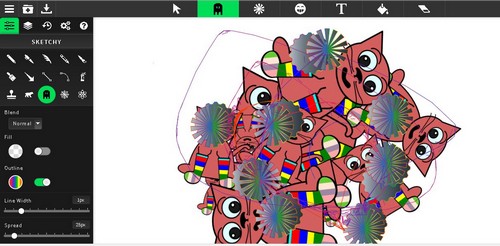
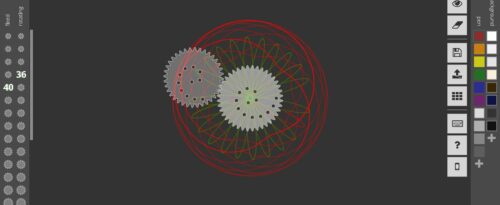
I played with PaintGo on ABCya, Sketchpad, Bomomo, and Inspirograph. These sites have plenty of tools to ensure that student dots are unique and all allow easy saving to the device.
PaintGo is by far the easiest and would work best with K-1. Students can save their finished work to Drive in Chromebooks or to My Documents on PC/Laptops.
Bomomo is strange and hypnotizing. While it might not be clear what is happening or what exactly the tools do, students will enjoy it! These can also be saved to the computer.
Whereas Sketchpad may be best suited for 3-6th, but does have the selection of clipart, stamps, and effects.
Inspirograph works like the art tool. Students pick an inner “gear” and an outer “gear” and a pen color. They then click and drag the movable gear around to make a design.
They can change gears and pen colors as they go to make more complex shapes. This is best suited for 3-6th as well.
For all sites, students can fill the page with their art since they will use another site to crop it down to a circle shape. Since student mouse skills are not super developed and touch pads can be tricky, having them crop rather than draw a circle is the way to go.
Cropping Art to a Dot Shape
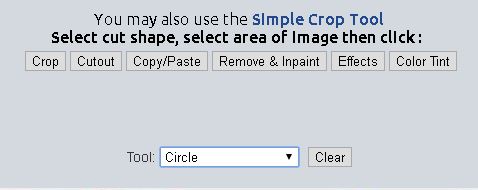
Next have students visit the free site LunaPic and use the editor function (if you use my link it will go right to the correct spot). Students will upload their saved art the change the Tool to Circle.
Next they use the mouse to click and drag a circle shape over their image then click crop.
Under their image they can choose to save it. It will just save the circle part now.
Create a Talking Dot
Once student dots are cropped and saved, if they have access to a microphone on their device, they can use the free site Blabberize to add a mouth to the dot and record themselves saying how they will make their mark on the world.
In order for students to use Blabberize, they need an account. I used a class gmail account I created just for situations like this! Basically I made a gmail account with an easy to type username and password. I share this with my students and we use it to log into sites that require email. Since the account is mine, I can monitor it just in case. Anyway I used that to get a free account at Blabberize and we all logged in.
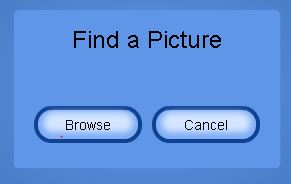
Next students click Make, then browse to find their dot.
They click the arrow key once their image uploads.
A weird orange blob shape appears. This is the “mouth.” Students drag it and reshape it using the dots so it looks more “mouthy.”
Students will click the next arrow again.
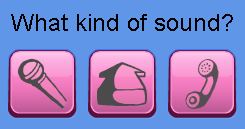
Then select the microphone. Again, their device must have a mic to work. Chromebooks & laptops usually have a built in mic.
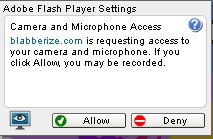
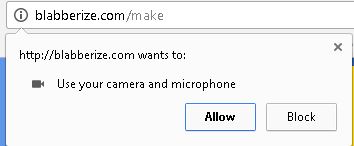
Depending on what you are using, you will get some permission popups. Students will click allow or yes. Here are some I saw using my laptop and Chromebook:
Next they click the record button and speak clearly into the mic area. The mouth should move up and down as they speak. If they don’t like the mouth, they can click the little mouth icon to readjust it. Finished videos are saved to the account. You can then project & replay all of the videos from one computer since they are in one spot so students can share their work.
Add Text to Dot
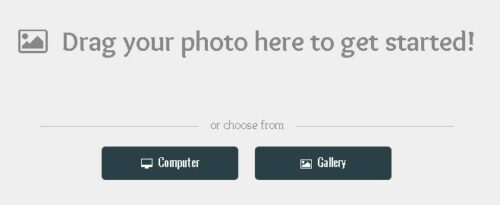
If recording sound or sharing an account is not applicable to you, you can also have students add text to their dot. After saving their dots, students can go to AddText to add…um…text! First student need to click Computer and find their saved dot:
Next they type how they will make their mark in the box to the left. They can use the drop down menu to change the text. If they want multiple lines, they just click +More text to add…um…more text!
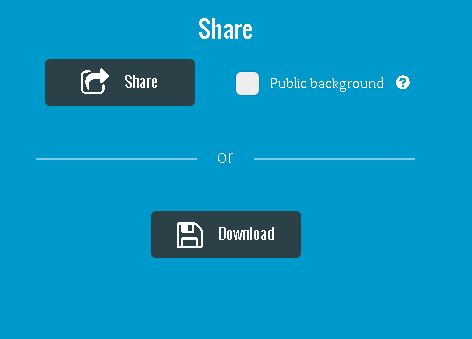
When finished, students click next then download.
This will save the dot with text to the computer or Chromebook Drive.
I hope this gives you some ideas for celebrating International Dot Day on or around September 15th. Be sure to sign up officially here!

