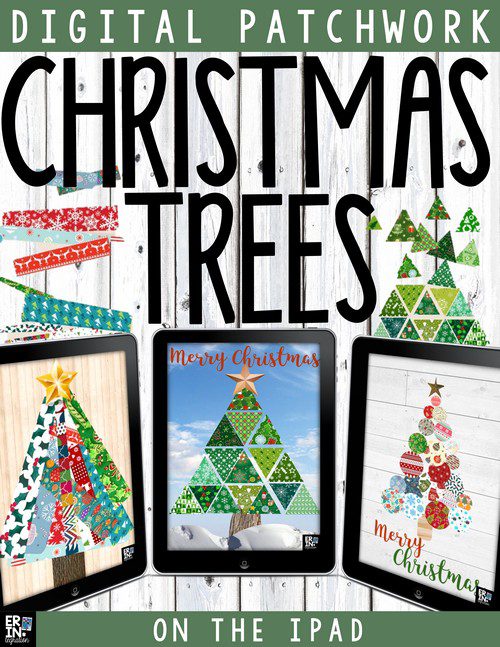
Learn how to create digital patchwork style Christmas trees on the iPad using the free iPad app Pic Collage. No cutting, no glue, no mess and almost limitless designs. Digital Christmas trees can even be printed for a unique holiday bulletin board. Here is an easy way to integrate technology into your Christmas plans this holiday season.
For this project, students chose one of three different styles of digital trees to make:
STRIPS

TRIANGLES
CIRCLES
This post will go into detail about how to make each type. However, feel free to mix and match ideas or try a new one. Students might even be inspired to come up with a new design!
Strip Patchwork Digital Christmas Trees on the iPad
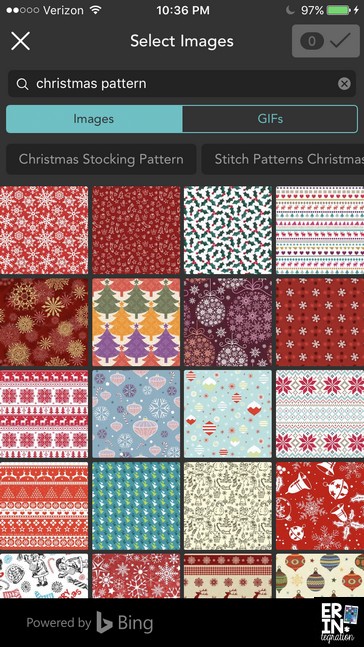
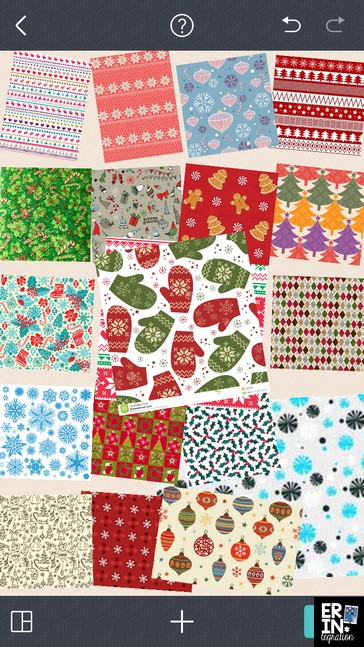
Fist students open the image search on Pic Collage. In the image search window, they type “Christmas pattern” to pull up a ton of different digital Christmas patterns and papers. Students touch from 5-10 of the patterns then click the check to insert them onto Pic Collage.
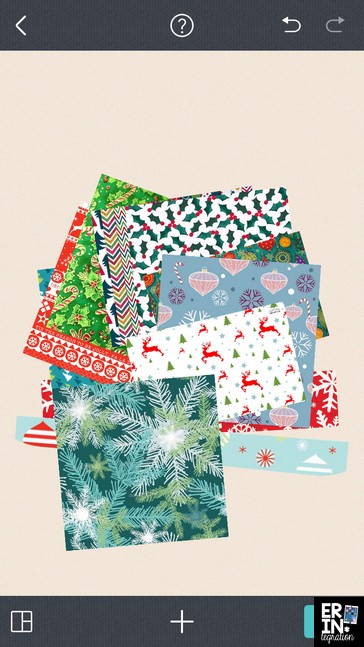
This will insert each image as small squares in the center of the Pic Collage.
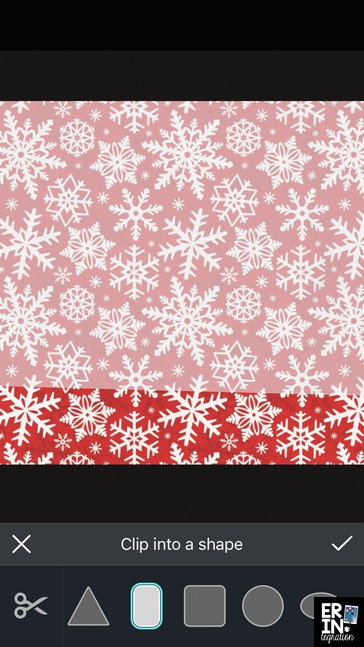
Next students touch one of the pattern squares and select Clip.
To make the strip shape, students should select the rounded rectangle. They will need to turn the rectangle 90 degrees so it is horizontal. Next stretch it all the way out so the rounded edges are no longer visible. This will cut a strip with straight lines.
Students should not worry about getting a totally straight cut, in fact, a slight slant will add variety. I suggest trimming strips to be various thicknesses with different angles.
Once they insert the strip, they need to select another square. They will trim each square one at a time.
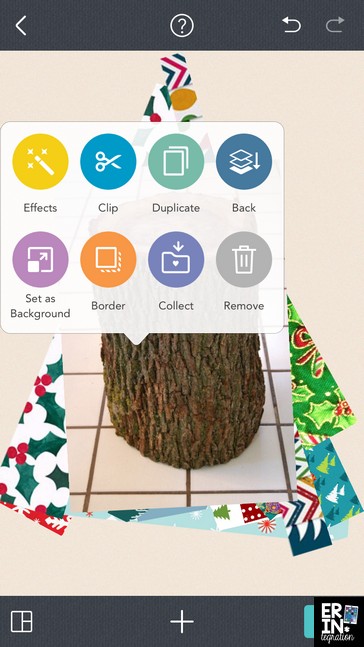
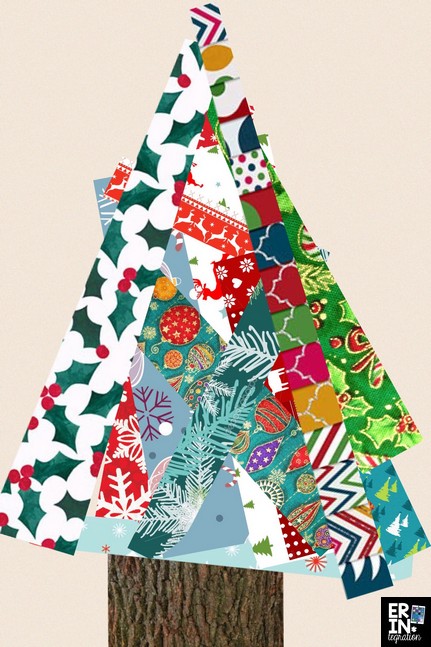
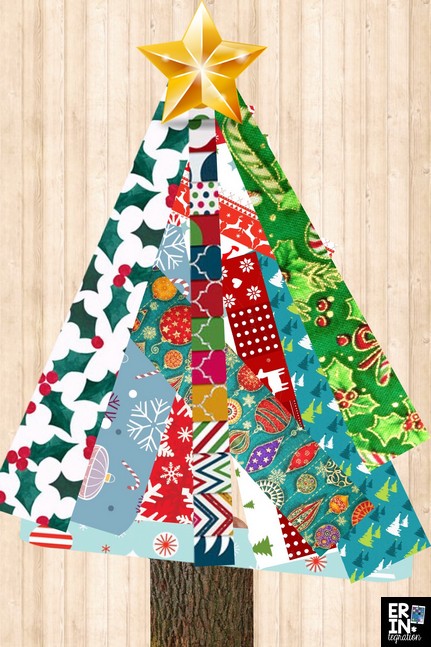
Once of the squares are trimmed, touch each strip to resize and arrange into a tree shape. Trees can be arranged horizontally with the longer strips on the bottom and getting shorter towards the top. Or arrange the strips fanning out vertically from a point at the top. If you want to send a strip behind all of the others, double touch it and choose Send to Back.
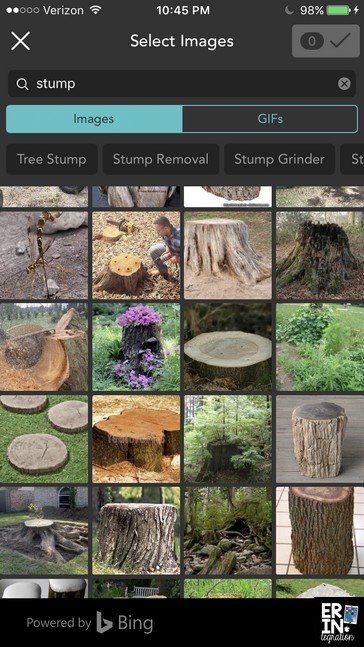
To add a stump, touch the plus and choose to search images again. Type “stump” in the search window and pick a tree stump image you like.
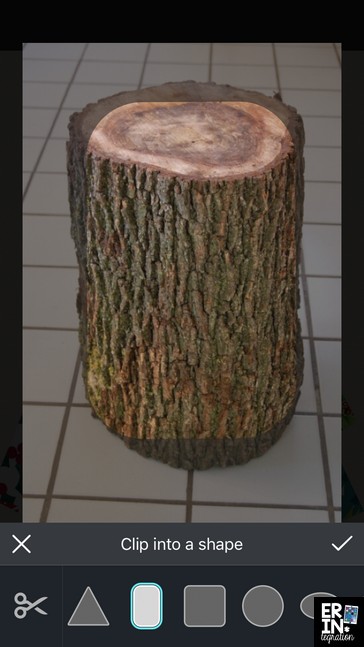
After inserting the stump, double touch it and pick Clip to trim it.
Choose the cylinder and place it over the stump or use the freestyle tool to trace it out.
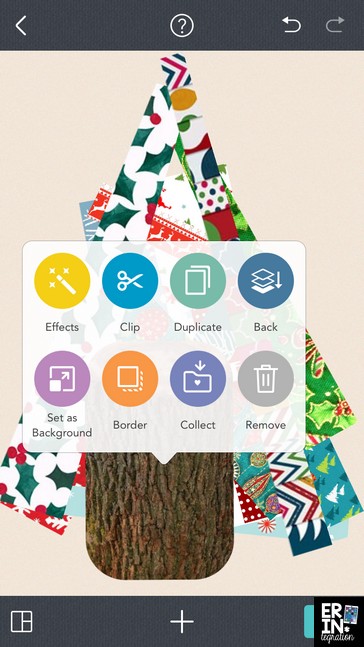
Insert the stump then double touch it and choose “Send to Back” again to put it behind the pieces.
You can see how I arranged my tree here.
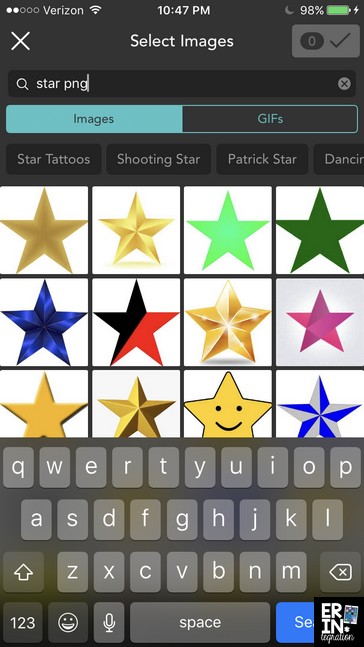
To add a star, use the web search tool again. This time type, “star png.” We type png because you want stars with out a background. A png file has a transparent background. Make sure to teach your students this during the product to interject some technology fluency into the activity!
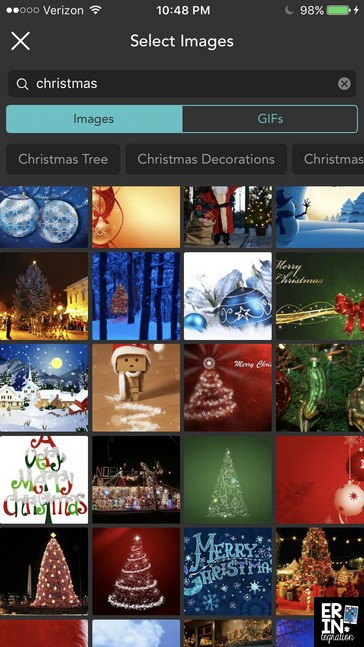
Finally, touch the plus, then backgrounds and the magnifying glass. Search “Christmas” to pull up Christmas themed images. I always do a test search on terms before allowing my students to search. I write “permitted” search terms on the board and I tell my students they may not scroll.
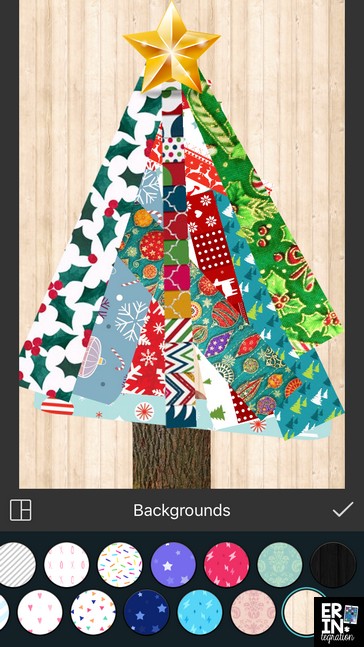
Students can also choose from one of the provided backgrounds. Pic Collage has generic ones and even some Christmas ones.
Here you can see the finished tree.
Triangle Patchwork Digital Christmas Trees on the iPad
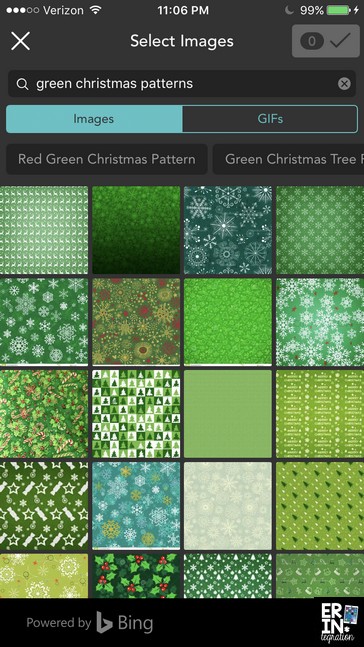
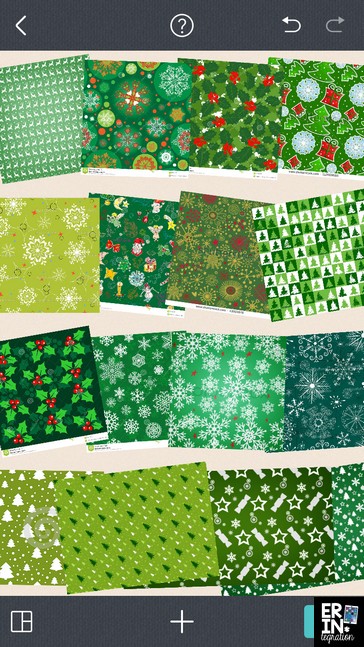
Use the web image search tool to get your “patchwork” images. I searched “green Christmas patterns” for this example. Students could also search just “Christmas patterns” or add another color to the front of their search term. I chose 16 squares for the project.
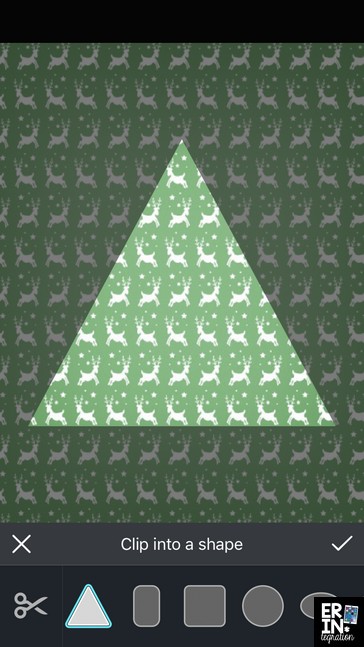
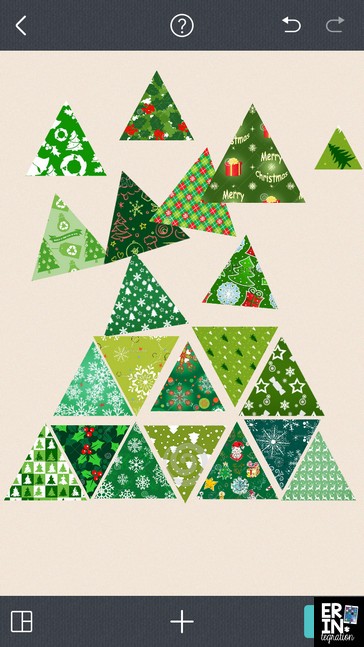
Pic Collage will insert all of the images as squares. You will need to trim each square one at a time by double touching then choosing Clip.
In the clip menu, students should choose the triangle. I do not resize the triangle since you ideally want the pieces to be the same size. For certain patterns, I might drag the triangle to a part of the pattern I really want to include.
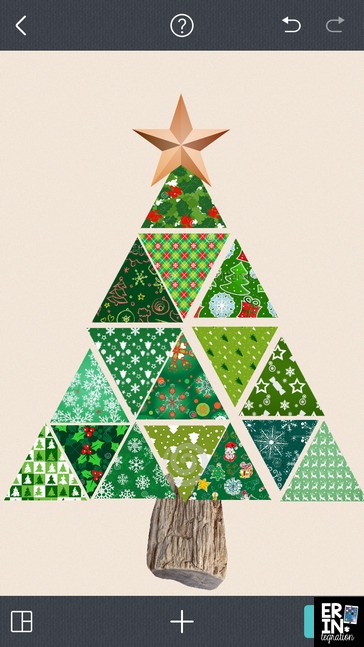
Once students have clipped all of the pattern pieces into triangles they need to arrange the pieces. Touch the pieces and use a finger to flip every other piece upside down.
Just like for the last example, I used the web search tool and searched “star png” to insert a transparent star onto my tree. I did the same series of steps as the strip tree above to add a stump.
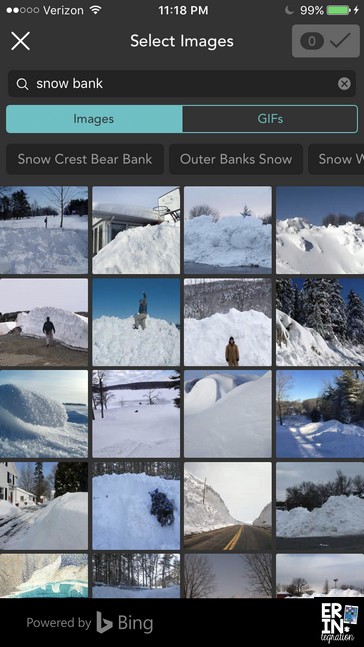
In addition to a background, I also added a snowy bottom. To do that, I used the web search tool and searched “snow bank.
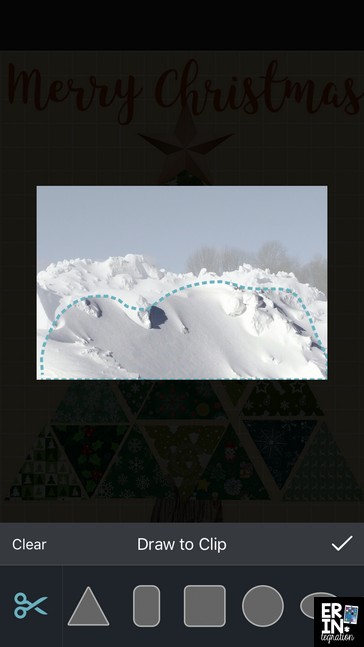
I inserted the snow back image then double touched it and chose “clip.” I used the free style clip to trace just a bottom chunk. I tried not to include any other elements since I wanted it to look like my tree was sitting in snow.
Then I dragged and stretched the snow across the bottom.
Finally I used the text tool to add a message. Pic Collage has recently updated to includes a bunch of new and exciting fonts!
Circle Patchwork Digital Christmas Trees on the iPad
This final project borrows a lot of the tips I already mentioned so I’m just going to share what I did differently. Students will insert the Christmas pattern images just as before.
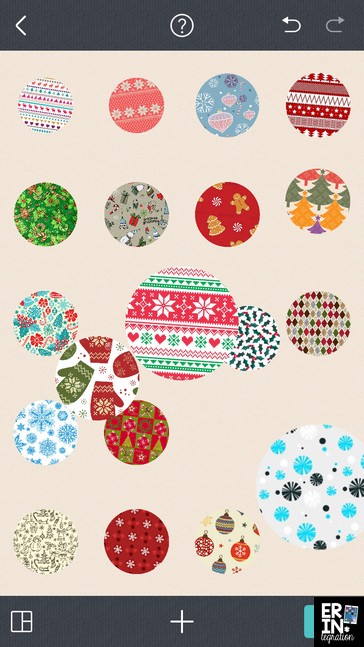
This time when they double touch an image and choose clip, they will pick the circle shape. I didn’t resize or mess with it much – sometimes I dragged it to a part of the pattern I liked.
Students will clip circles all separately. For my example, I used my fingers to drag and pinch my circles into various sizes.
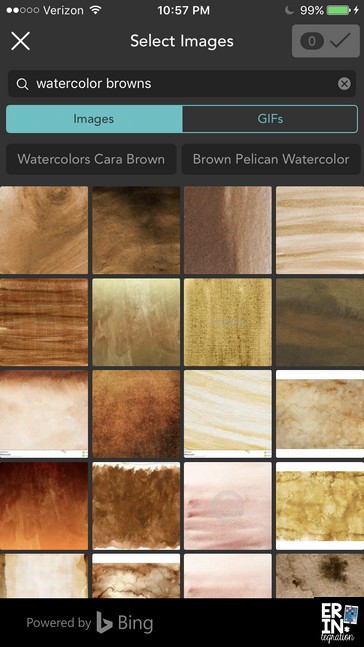
For the trunk, I used the image search tool and searched ‘watercolor browns” to pull up various water color textures. I chose a texture and used the clip tool and the cylinder shape to create my own stump.
Finally I arranged my circles and my stump into a tree shape. I added a star and a message. I suggest starting from the bottom and working up. Students might want to double touch various clips and choose “Send to Back” as they go.
Pic Collage projects look beautiful printed out. These could be printed on cardstock and used as cards. I use Google Drive to gather all of the images or you could even assign this in Google Classroom and have students turn in their finished trees that way. Once I have all of the images in Google, I hop on my PC and print. Those of you lucky to have Apple printers might even be able to print directly from the iPad!
Have you made digital Christmas Trees on Pic Collage using these tips? Be sure to tag me on Facebook, Twitter or Instagram so I can see the finished digital Christmas Trees your students created!

