
Technology Fluency – What is it?
Technology fluency is the ability to navigate various devices, programs, and apps – even those that haven’t been used before – with ease and understanding.
In the elementary classroom, a learner with technology fluency is the one who is able to get started on project using a laptop, Chromebook, iPad or PC with minimal instruction & tutorials. Digital learners fluent in technology will also internalize and make connections between apps and programs, which will help him or her when tackling those never used before. Edutopia outlines some of the components of technology fluency here.
Why to teach technology fluency
Just as teachers can instruct their students in reading fluency through explicit strategy instruction, scaffolded practice, and independent work, technology fluency is a skill that can be taught in the classroom. One of the main reasons many teachers shy away from using technology is their lack of confidence in using technology, fear of glitches, and lack of time.
Well I have some good news – each of these perceived shortcomings can actually be harnessed as teachable moments to build students’ technology fluency.
If you lack confidence in your own technology ability, teaching digital fluency gives your students the tools to be the tech experts.
Wouldn’t it be better to have digital learners fluent in tech so that they do not need to rely on you as the IT expert in the room? By following the 4 tips I explain below, you will be able to take the focus off of yourself and assume the role of a guide rather than an expert. In fact, you could theoretically use an app or program you have NEVER looked at if you set the stage for positive risk tasking and collaboration by stressing technology fluency.
However, I do not recommend that. In fact, I think having visual step-by-step directions, rubrics, and graphic organizers is an important component to technology integration as many learners still need support in being independent. But the big idea is that your students are the ones who should be doing the heavy lifting and they should not be looking to you to solve all technology issues that arise.
Enrich technology glitches into teachable moments so students develop problem solving skills and can be more independent.
I have written some tips on how to enrich a glitch that may occur in the classroom and how a glitch can actually be used as a teaching point. By talking through glitches and brainstorming together, you are giving your students the tools to tackle any unexpected tech situations in a calm methodological way. In this case, a technology glitch is actually a good thing in that it is helping build students’ technology fluency in an authentic way.
Integrating technology fluency lessons into existing activities takes just a minute and over time, reduces the need for explicit instruction on using devices or programs.
Time is also a huge factor into why tech integration can be a low priority in the classroom. Teachers worry that they will spent the majority of the lesson getting the activity set up and troubleshooting. However, by sprinkling just a bit of technology fluency points into each activity, you will reduce the set up and troubleshooting in the future since your students will become more independent and better equipped at using even novel programs and devices.
So now you have no excuses not to make teaching technology fluency a priority in your classroom. Regardless of the devices or the access to devices, spending time building your learners’ technology fluency will benefit your integration goals.
4 Easy Ways to Build Technology Fluency
1. Allow students choices in apps or programs
Does your project revolve around video making, word processing, or skill building? Why not have a selection of similar programs or apps for students to use. For example, if students are to create a video book report, they could use TACU, Tellgami or Chatterpix on the iPad. All of these apps feature similar end projects – a short video.
By allowing students choice when appropriate, you can point out the similarities of programs and apps. Making connections between programs and apps is an important component of developing technology fluency.
Plus choice tends to increase student motivation and ownership. You can also have students working on similar programs or apps sit near each other so they can help each other. Plus you will have exposed more students to more apps and programs this way. That way when another student wants to try that program or app, you will have some students who have experience with it and can act as experts.
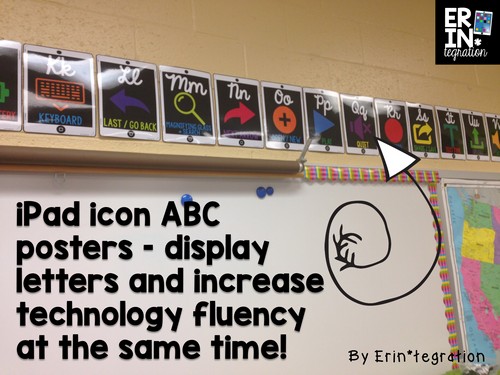
2. Point out icons and their universal functions
I have written about universal icons on the iPad, but I cannot stress enough how important it is to point them out and talk about them.
To further this process, I created both an Ipad icon alphabet set and a GAFE icon alphabet set. At least for me, space to hang posters and things is limited so this way, I’m displaying our alphabet but it also functions as an incredibly useful reference wall. Click on the image to check them out in my TpT store!

I talk about icons whenever we use the iPad or Google apps. If a student asks me “How do I…,” I often say, “I wonder which button we should touch?” and I gesture to the icon posters.
My poster sets all feature icons that fit Apple’s strict design guidelines. In fact, I sourced them from a site that provides icons to app developers so I know that what I have displayed is actually what my students will encounter using various apps. I have sets available for purchase with print for the primary grades, slant and cursive for upper grades plus two choices of iPads – grey or white – to fit any classroom design. Plus I included a completely blackline version in each set so you can save ink. Blacklines look great printed on colored paper too!
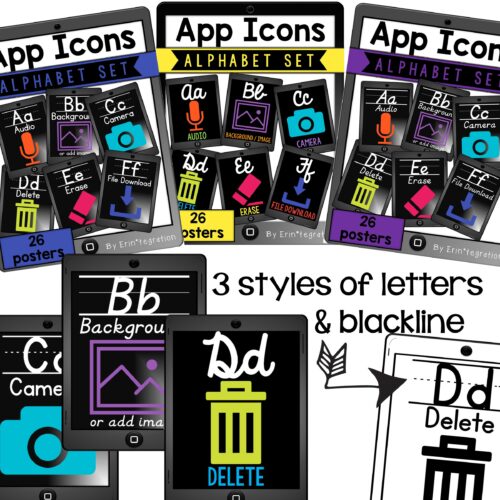
I printed then laminated my set before hanging them in the classroom. I chose to use the cursive letters and white iPads available {here}. Here is a peak part of the set ready to cut out:
![]()
Here they are hung up in my classroom – some of the other iPad themed items are available {here}.
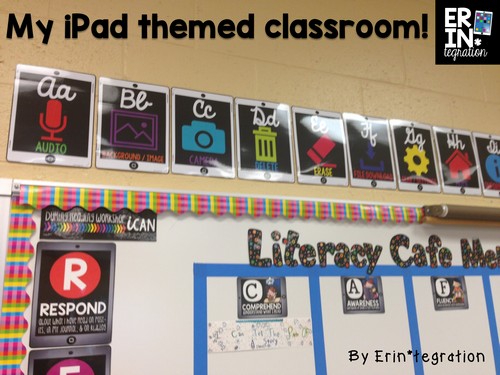
The laminate and my poor photography skills means you can’t see them super clear, but they are very easy to read and see in my classroom. The black background really makes the icon and letters pop.
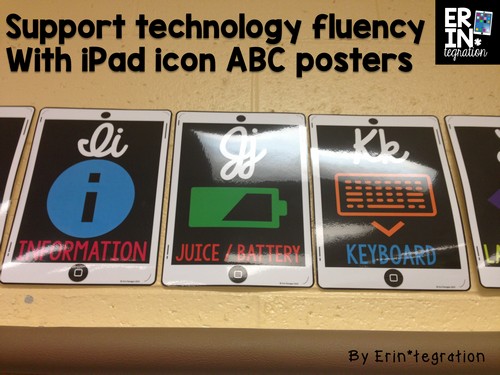
Here is a close up – you can see the definition of each icon is included as well. We use this term so that we have a common language when referring to various tech processes, which helps students communicate with me and each other about what they are doing on the iPad.
The same goes for my GAFE icon sets which use icons found on the various Google apps suite such as Google Classroom, Drive, Sheets, Docs, and Slides. These also include blackline versions of each set. I made sure to include icons that were specific to Google when possible so there is not overlap between my GAFE set and my iPad set. In fact, you could hang both if you use both a lot.
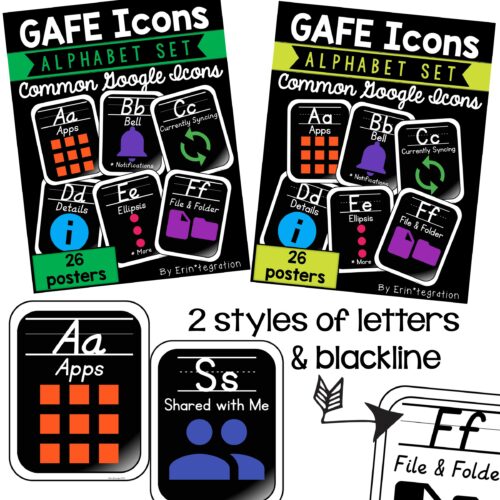
My icons are the official Google icons, designed and shared by Google. The neat thing about Google being such an influencer is that many of their icons are used by other websites so students will recognize various functions across sites. Being able to apply knowledge across websites is an important component of technology fluency.
3. Have a quick “share” time at the end of the activity for students to give a review of the app or program used
Share time at the end of the lesson is a key time to quickly assess student learning. I try to have about 5 minutes at the end of reading, math, and writing workshop to sum up what we learned or have students share something they learned or thought about. Exit slips are another way for students to share. However, I have recently started to include “technology” share time when it makes sense.
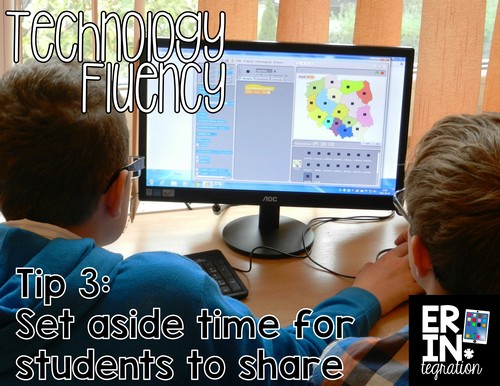
In addition to student learning, allow students to share thoughts about the app or program they used. What did they learn? What did they like? This may not be something that you do EVERY time you use a program or app, but having some time for students to reflect on what they did, what worked, and what they struggled with is a great way to have them use technology rich language in a constructive way.
If a student figured out something cool – which if you read my blog means they probably figured out a font, emoji, or animation – make sure that student is given time to share it. Not only will it empower students to discover features in the programs and apps you are using, but it will encourage students to problem solve as students love talking about how they “saved the day” even if all they did was restart the computer!
4. Create a save and share plan for student work and use it consistently.
This is not as obvious as my other tips, but having a clear, purposeful, and consistent save and share plan will help students become more technology fluent. I will be blogging next week about specifics, but a save and share plan is basically a set plan for how you want students to handle the work they do on their devices.
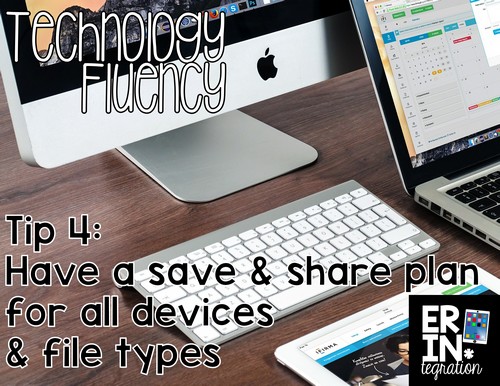
Your plan will most likely be device specific and sometimes even file type specific. The point is, by explaining the reasons behind your plan and having students practice it, you are helping them understand file type and the various limitations or options available.
My save and share plan tends to be “get it to the camera roll” for any iPad project. From there students upload images to Google Drive and upload videos to YouTube. Every time they save and share, they are practicing key skills as well as differentiating between an image file and a video file. They are also learning about privacy settings, logging in, and the importance of naming files. These are skills that are universal to any technology experience.
If you are using a PC or laptop, your save and share plan is most likely saving it to a thumb drive or folder. Your share plan may be to upload to a class folder on Google Drive or share on a blog. GAFE classrooms are probably accomplishing all of the above via Google Apps.
In this same vein, I also teach my students about sharing with parents and the school community. Our share plan may sometimes be a tweet or uploading photos to Homeroom, a free & private web app for sharing with families. By involving my students in the process, I am showing them the critical thinking that goes into the choices we make with our digital content.
I hope you have learned some ways to teach technology fluency in your connected classroom and understand why it is so important to focus on. Not only will it help your students be more independent but it will create a culture in your classroom of positive risk taking and collaboration. Plus always keep in mind that we are preparing students for devices, apps, and programs that may not be invented yet, so let’s give them the tools that can be applied across platforms instead of making them an expert in one.
How are you adding a bit of technology fluency instruction in your classroom? I would love to hear – share below!