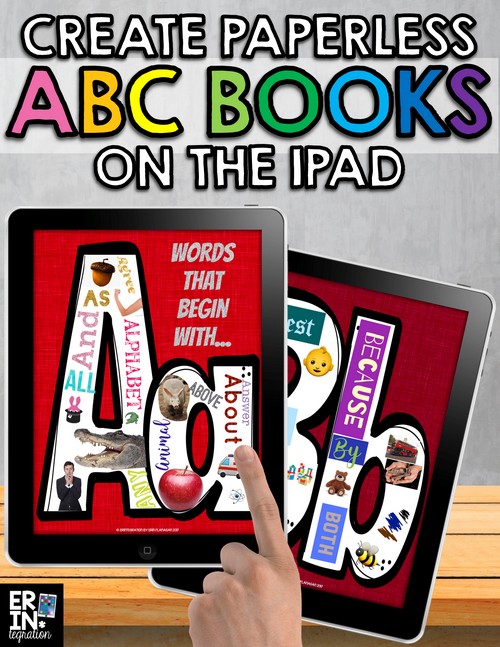
Learn how to make paperless alphabet books on the iPad with this engaging and versatile project on the free iPad app Pic Collage. Classroom ABC books can be made for almost ANY topic and this lesson can be used in ANY elementary grade. Make beginning sounds books, content area ABC books, biography ABC quilts and more – all on the iPad!
I’ll be sharing all of the ways you can update classroom alphabet books for 21 century learners in several posts. First, let’s start with how to make a beginning sounds alphabet book. This particular lesson is best suited for K-2.
Assign Letter Templates for Paperless Alphabet Books
Students used my Digital ABC Book iPad Project resource for this activity.
Depending on your access to devices and the abilities of your learners you can create paperless alphabet books whole group or in centers. You can assign each student a letter and complete the book all at once or have each student make letters all year long.
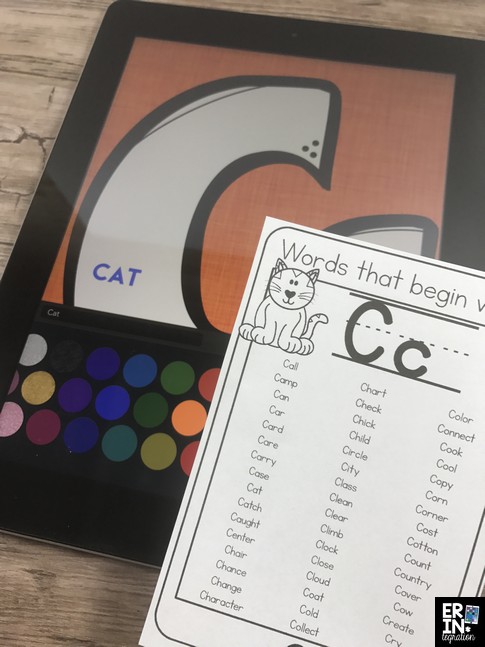
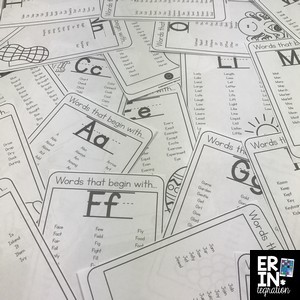
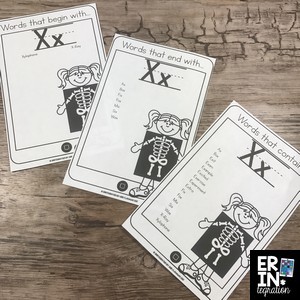
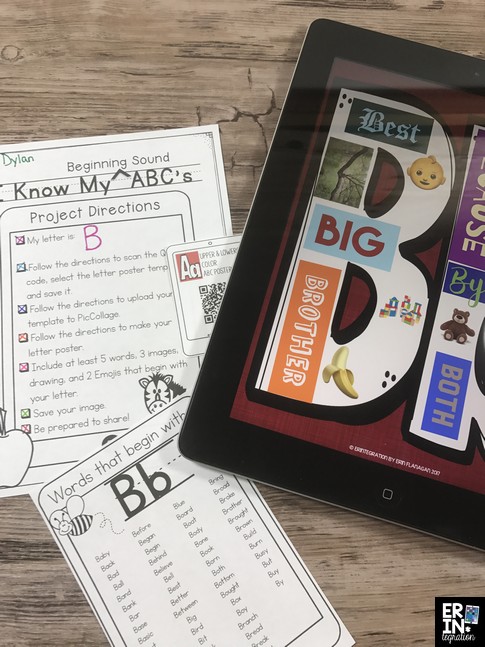
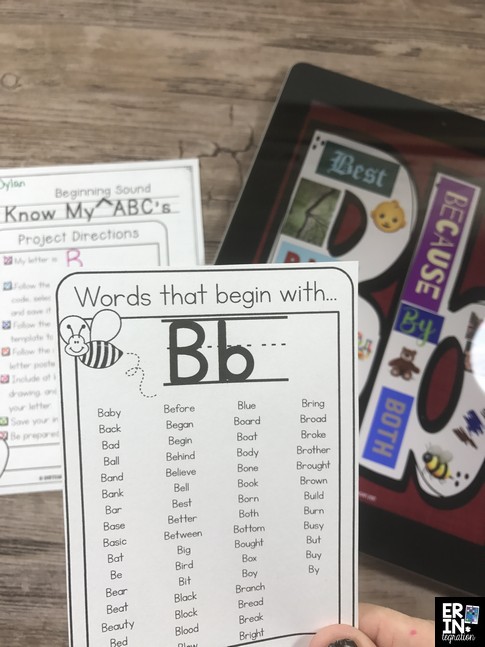
After assigning students’ letters, give them the corresponding “Words that Begin With…” sheet.
I have students use these as a jumping off point. Often after typing some of the words given, they will think of their own words. I also like having the list to support students who might not be able to generate their own words. You can challenge students who need it by telling them to find 5 more words in a book or the classroom that start with their letter.
Another way to differentiate is by distributing the letters in a thoughtful way. Fast finishers can do more than one letter. Give your out-of-the-box thinker the letter X! I created 3 different X word lists to fit your instructional program.
Next students will download their letter template by scanning the QR code and setting it onto Pic Collage. You can also use Air Drop (share from your Mac to student iPads or share from teacher iPad to student iPads) or use Seesaw to distribute the templates to students too!
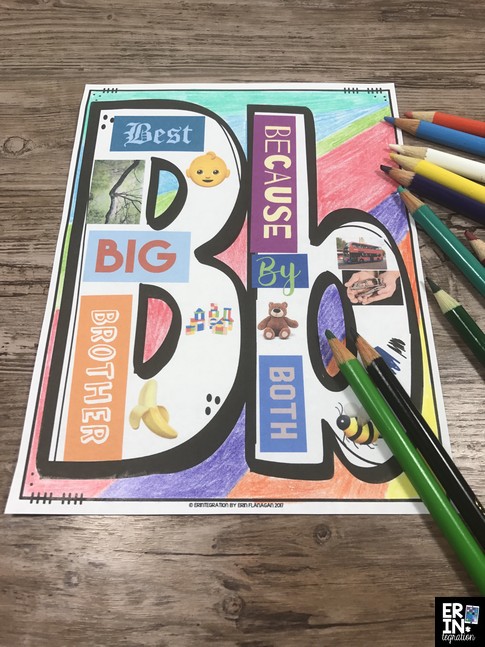
You will want to decide which templates to use. There are 4 to choose from: Upper & lowercase letters, just upper case and then blackline versions of each.
If you plan to print your book and do not want to use a TON of ink, opt for the blackline versions since the colored background takes a lot of ink.
You can have students color the background too!
If you are NOT planning to print them use the colored ones. I suggest choosing the same set for everyone though to make it easier.
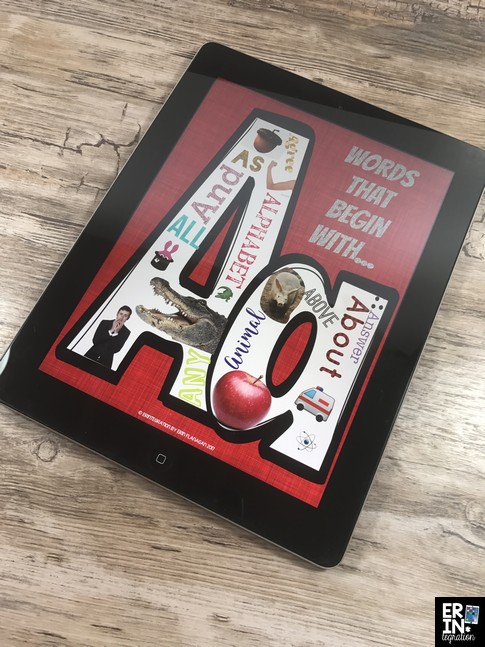
Create a Letter Collage on Pic Collage
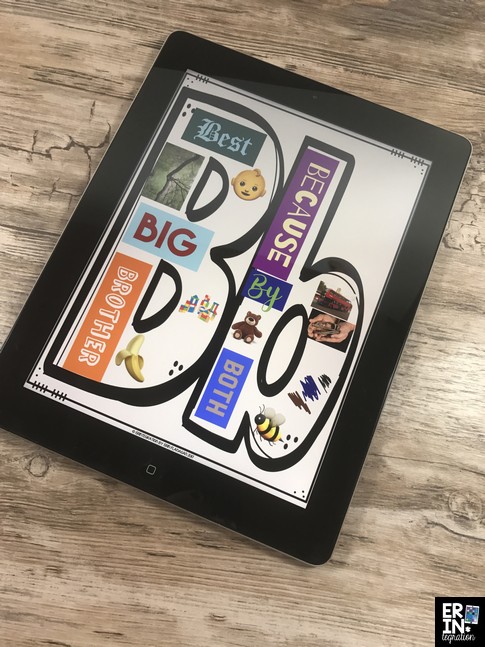
Younger students may need adult assistance getting set up, but once the templates are in Pic Collage, you will find kids are relatively independent at creating their posters. I included a checklist for students so they know to include a certain amount of words, images, Emojis, and drawings on Pic Collage.
Not only will students practice letter identification skills and typing on the keyboard, but by finding Emojis on Pic Collage, they will show off their descriptive vocabulary skills and demonstrate nuance and shades of meanings of words as they sometimes get creative in assigning Emojis to specific letters. My favorite was a little boy who used the top hat for the letter “S” and when asked said it was “Swag” to wear a top hat! But a Smiling Emoji can also be Happy, Pleased, or Glad for example.
I also remind students to just fill the letter space with their items and to leave the background empty. You can also have them write a title in the background area.
Save and Share Paperless Alphabet Books
Once they are finished, students save their image to the camera roll. At this point, you can decide what you want to do with the alphabet images. If you want to print them and students have access to a printer compatible with iPads, they can print right from Pic Collage. If not, have students send them to you via:
- Seesaw
- Airdrop
- Google Drive
I love to bind class alphabet books using my GBC ProClick P50 Desktop Binding Machine and Easy-Editing Binding Spines.
I wrote in more detail how to use the ProClick Binding Machine to make mini anchor chart student books if you are interested in seeing step by step how it works. It was seriously one of my favorite classroom purchases because I use it so much!
However, if you want to make a paperless alphabet book, you can opt to combine the student letter images into Book Creator or Google Slides.
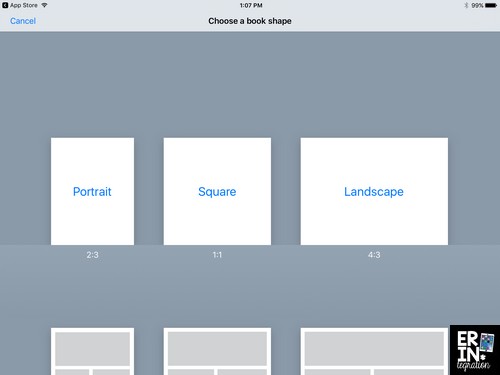
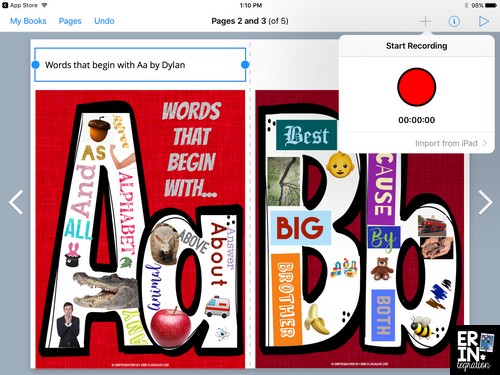
I love Book Creator for younger students, because they can also record themselves telling about their image. Open the app, create a new book – pick the 2:3 Portrait / vertical size.
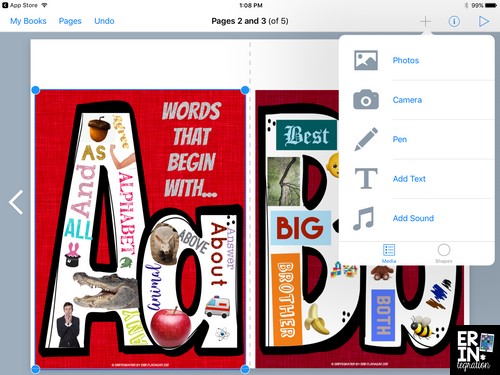
The plus button allows you to add photos, drawing, text and sound to the pages. Touch photos to insert your ABC templates – one to each page.
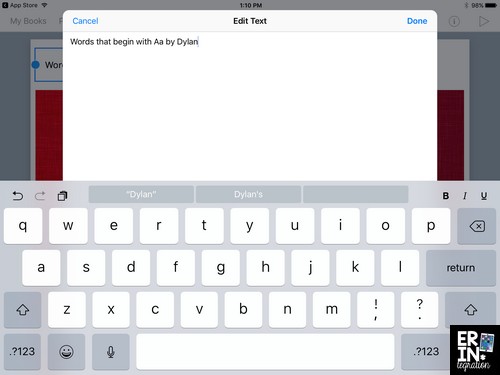
You can label each page and put the student name too. Touch text to add a text box.
You can arrange the text boxes onto the page – I usually place them on top or below each image. Touch plus again on each page and “Add Sound” to record. You can add a separate recording to each page. Have students tell about what they made. You can also have students read the words they used.
You can either collect all of the images to one iPad and make the book (have students take turns recording their page) OR you can even have students each create their own “book” with their one page and recording then combine all of the various books into one big Book Creator book!
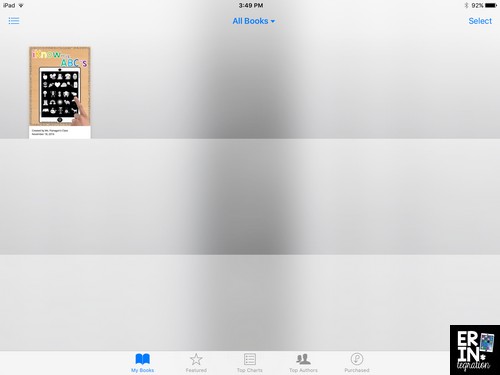
As Tech with Jen points out, Book Creator is very versatile for sharing as well. Once you make your Book Creator paperless alphabet book, you can export it to a video to share, save it as a pdf to be opened on any device, or publish it in iBooks.
My Digital ABC Book iPad Project comes with a book cover to use (with room to customize in Pic Collage if you are so inclined) in color and blackline.
Share out your Book Creator Book with AirDrop if your students are 1:1 so every student now gets a copy!
How to Make Paperless Alphabet Books with One iPad
I know I have said before that I am not 1:1, although we do have generous access to technology. For many years, I only had one iPad though and I know many of you are still working with one or a few, too. To complete this project with one or a few, just create a “letter center.” Set up the iPad, directions, and checklist in a center. Students can work in pairs to make a letter.
The advantage of one iPad in this situation is once you scan the QR code, you will be able to download the images to the iPad at one time, which will save a lot of time for students. Since the letters will already be saved to the camera roll, once they come to the center, they will just have to set their letter in Pic Collage and get to work.
Adjust the Activity for Older Students
I will be writing about making content area ABC books soon, but you can also make a beginning sounds ABC book with older elementary students. First of all, do NOT give them the word lists. Challenge them to find their own words.
Secondly, you can set parameters to the assignment to fit your grade level standards. Maybe students need to find words that have a specific spelling pattern or a certain number of syllables. You could also have students create a digital poster for ONE word that starts with the letter – just have them choose a vocabulary word and search for and draw images and examples. They could even use the word in a sentence.
Pick up my Digital ABC Book iPad Project here and be sure to stay tuned on www.erintegration.com for more ways to use this versatile resource (Biography ABCs, Poetry ABCs, Banners…oh my!).

