
International Dot Day is celebrated on or around September 15th. Inspired by Peter H. Reynold’s simple yet powerful story, The Dot, students are encouraged to brainstorm ways to “Make Your Mark” on the school year. Learn how to use the free app AR Makr to bring digital dots and images into augmented reality!
What is AR Makr?
AR Makr is a free augmented reality app. I learned about AR Makr at ISTE 2019 and it was one of my favorite takeaways!
AR stands for Augmented Reality, which is a way to layer digital objects into the real world. AR Makr uses just the iPad (no other device needed) to overlay digital shapes and creations onto a real surface – like your desk!
The reason I love it for students is because it is really easy to use and get started. Apple Education has a great guide for using AR in the classroom if you want to learn more. In AR Makr, since students can import their own designs and drawings, it makes for a fun way to share too!
AR Makr for Dot Day
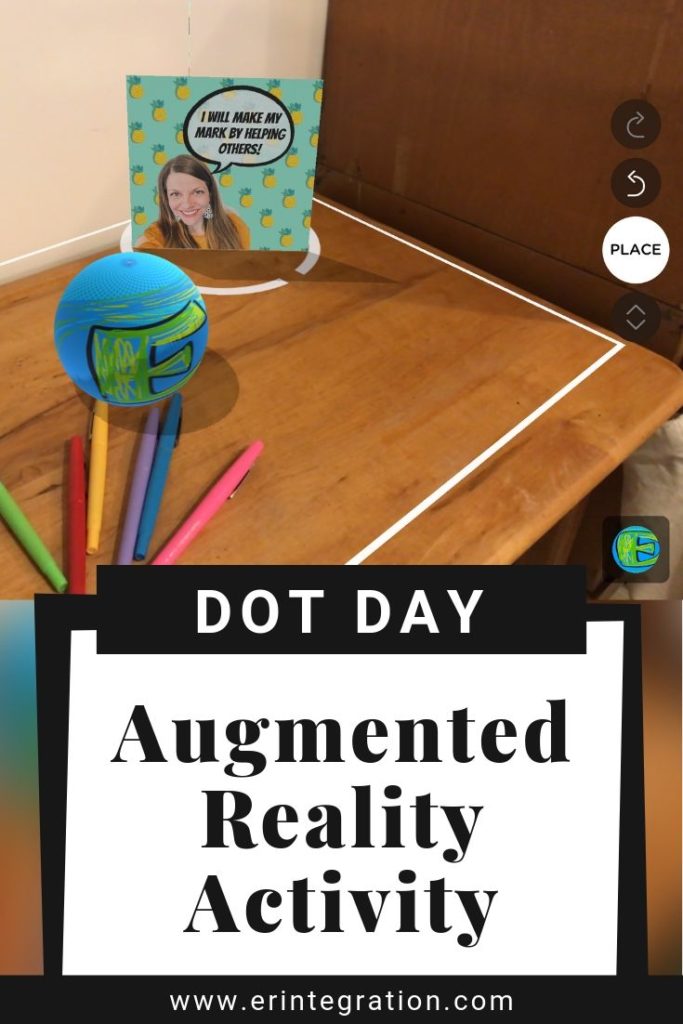
Here is an example project students can whip up quickly for International Dot Day!
For this project, students will turn a digital drawing into a 3D sphere or “dot” and/or add a selfie and declaration of how they will make “their mark.”
Creating Digital Dots on the iPad
First, be sure to check out my prior post where I rounded up some of my favorite digital drawing apps to use for International Dot Day on the iPad along with some ideas for creating digital dots. For this activity, students will need to use their favorite creation, drawing, or designing app to create and save a digital dot to the camera roll.
I prefer PicCollage since I can combine patterns, doodles, stickers, clips, and even Emojis.
Give students time to draw or design their dots. While my original blog post specified making a circle shape, for the AR dots, a square or rectangle drawing works best. The image will be stretched or warped a bit when turned 3D, so an abstract pattern design works best.
Designs will need to be saved as images on the iPad camera roll in order to be used in this activity.
Using AR Makr for Dot Day
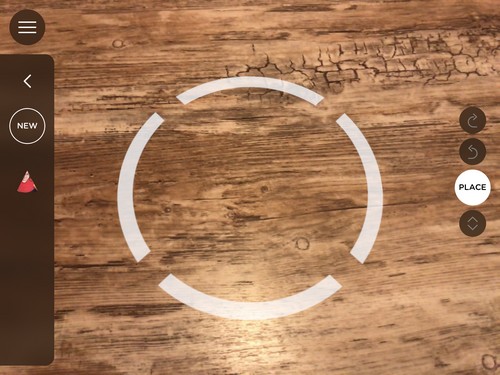
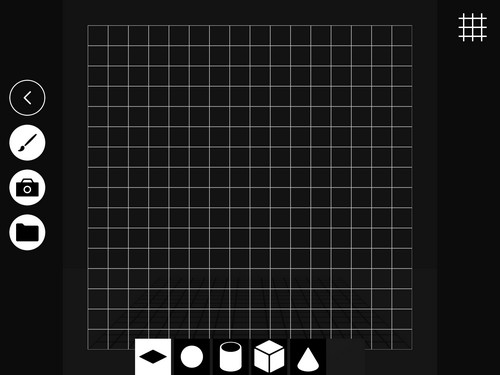
After opening the app, you will need to slowly move the iPad camera view over a flat surface. Both of my iPads (new and old) were able to identify my cleared off desk as a flat surface quickly.
Touch the screen where you will “place” your dot into the AR frame. A circle overlay appears.
Creating An AR Digital Dot
Touch New then the Folder icon to open your camera roll. Touch the digital dot design you saved prior.
Along the bottom row you will see several shape options. Choose the sphere.
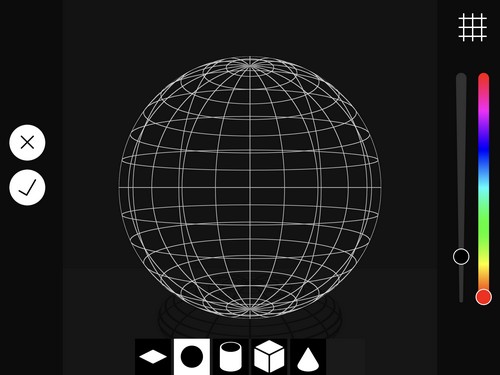
You will notice the drawing may stretch or become warped, which is why I think an abstract or pattern type design works best for this.
Press the check and return to the surface. Students will need to hold their iPad in approximately the same place they did when scanning.
Touch the “dot” you created in the left menu then touch Place. The digital dot is placed onto the surface!
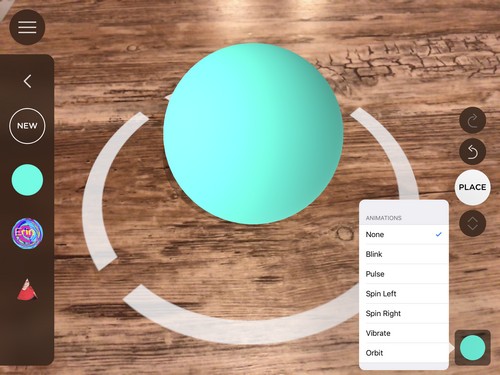
If you touch the dot again, you will see a button in the bottom right corner. Touch that to add animation.
Get creative and add more dots!
Adding a Flat AR Image
You can also add a flat image into your AR Makr canvas. This is a great way to incorporate a selfie and text into the final product.
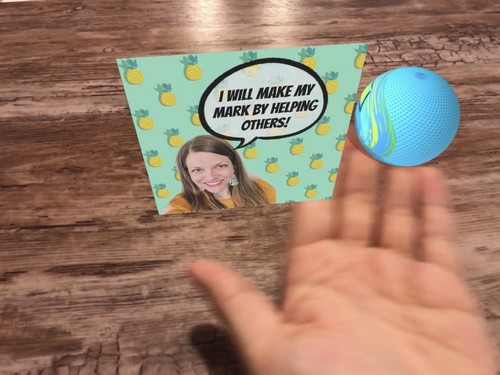
Just as before, create the flat image and save to the camera roll. For my example, I created the image in PicCollage and included a selfie along with a background, speech bubble and text.
In AR Makr, touch New, the Folder Icon, and this time choose your flat image and then first shape option which looks like the square on the ground basically.
Touch Check to insert it. For my video, I chose the “pulse” animation on my flat image and the “orbit” animation on my digital dot so it would orbit around the picture!
Saving and Sharing AR Makr Dots for Dot Day
Touch the left arrow on the left side to close the menu. You will now see a video camera and camera icon. The Video Camera icon will allow you to film your screen. Adding your hand or other “real” objects give it a special touch. The Camera icon will take a still image.
If you have students record the video, have them upload and share to a Flipgrid so they can view and enjoy each other’s creations!
Using Chromebooks? No problem, check out my digital dot day for Chromebook post. I also linked to a bunch of digital and non-digital Dot Day activities in my International Dot Day Wakelet collection.